How I Curated a Family Photo Archive of 15,000 Images
A few months ago, back when lockdown happened in the United States, I decided that 2020 was the perfect time to finally settle in and work on curating an archive of my family's old photos. If you're anything like my family, I'm sure you have a variety of old prints and film and digital files that have been piling up for generations. What's more, I grew up in a family of photographers - which is great for remembering the past, but it means my job of creating an archive was incredibly tedious and challenging.
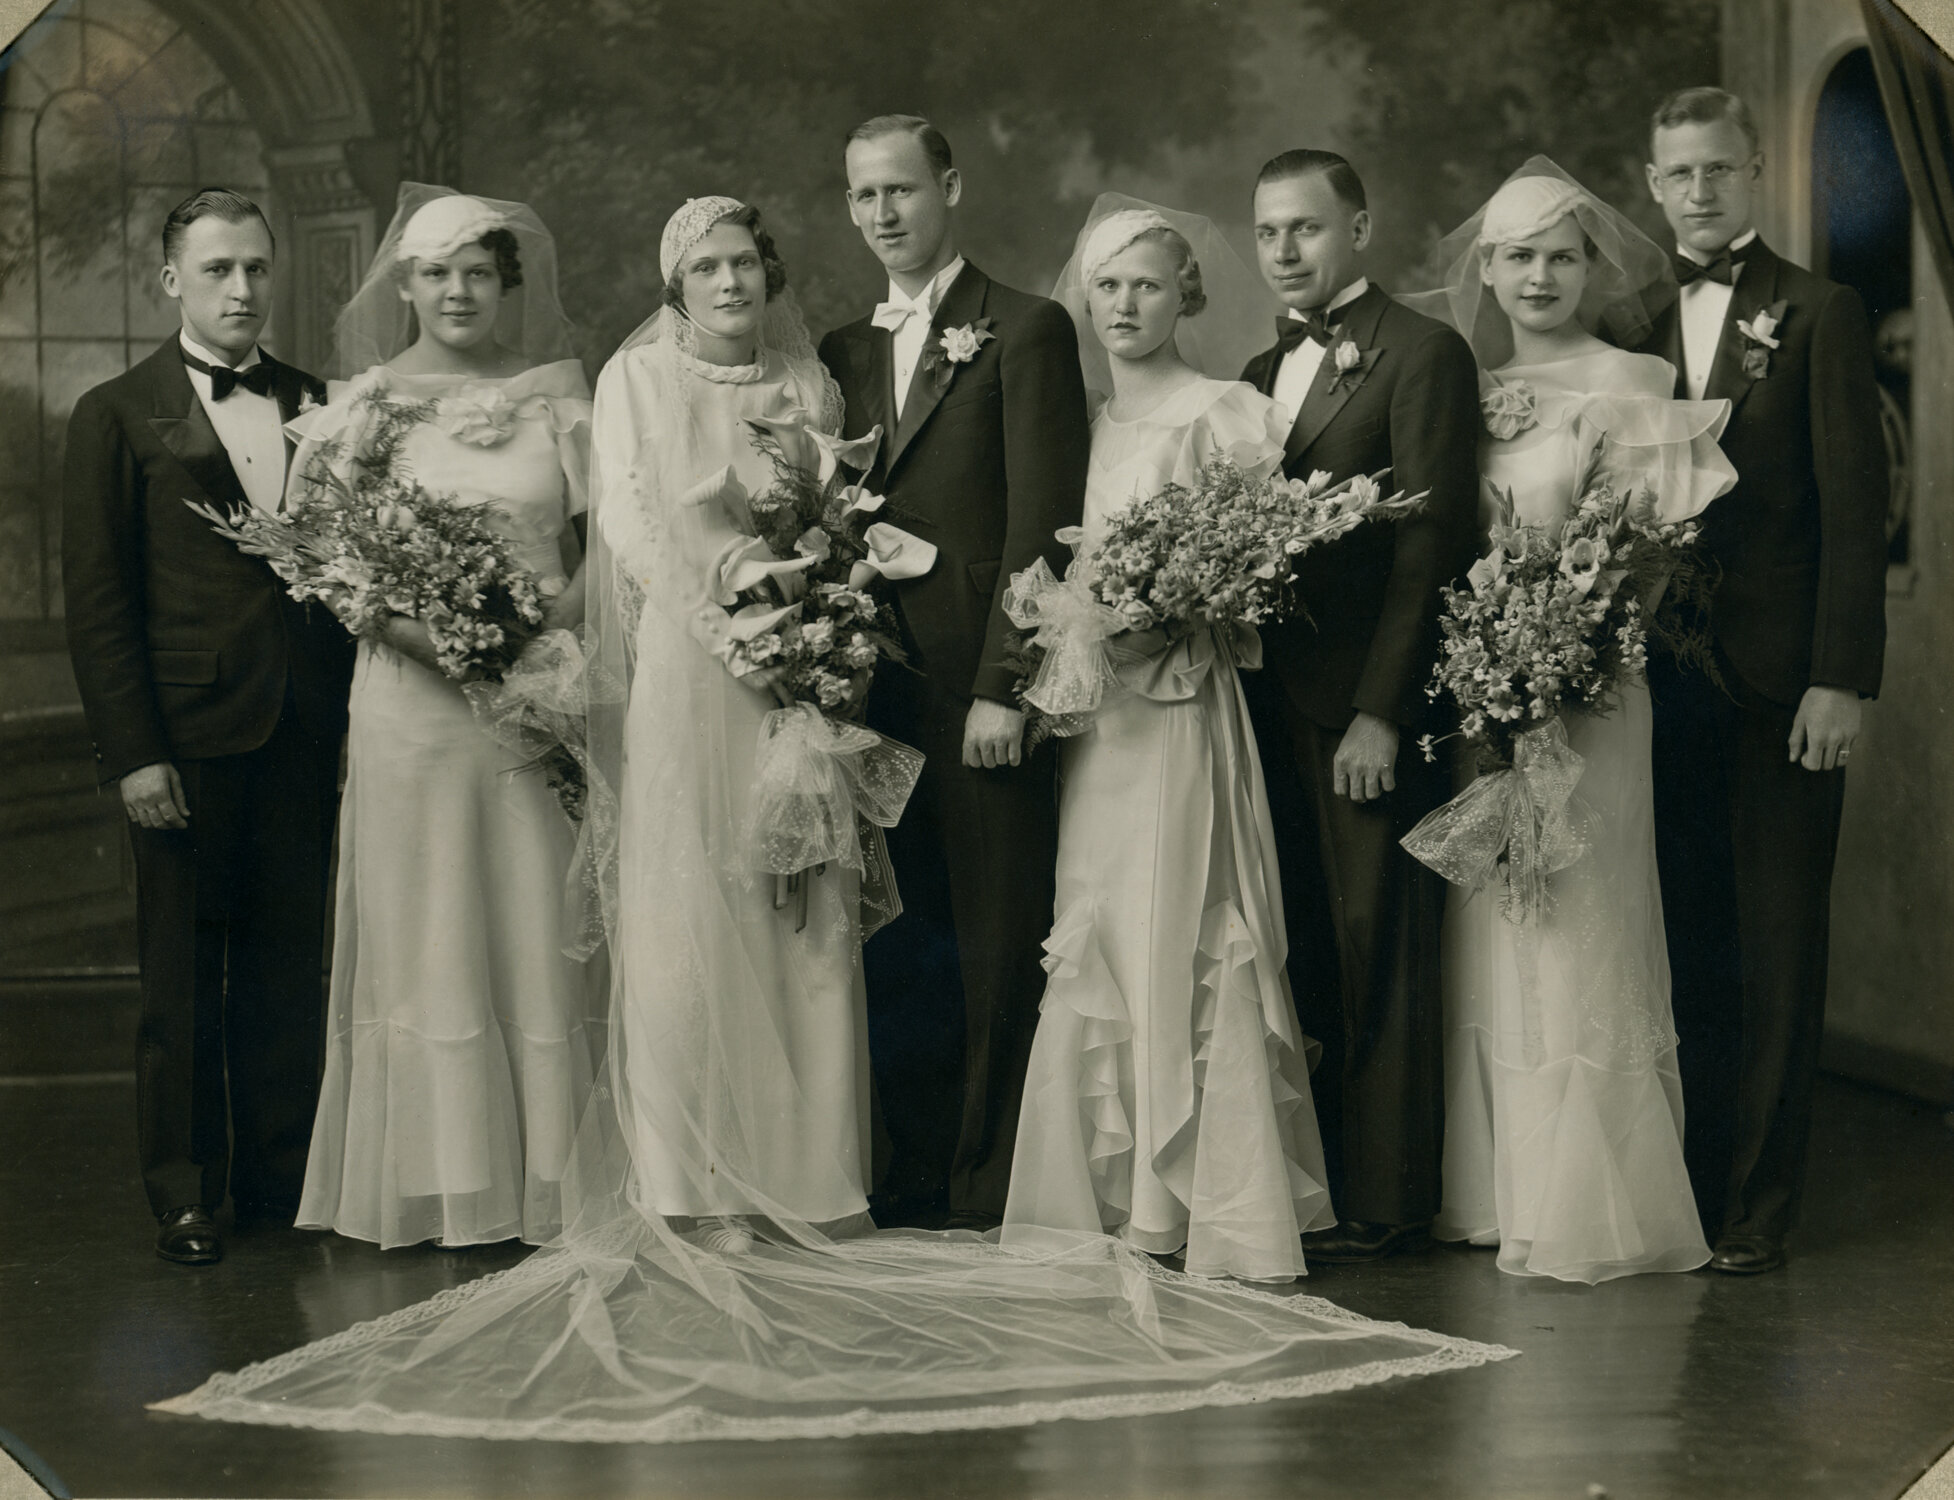
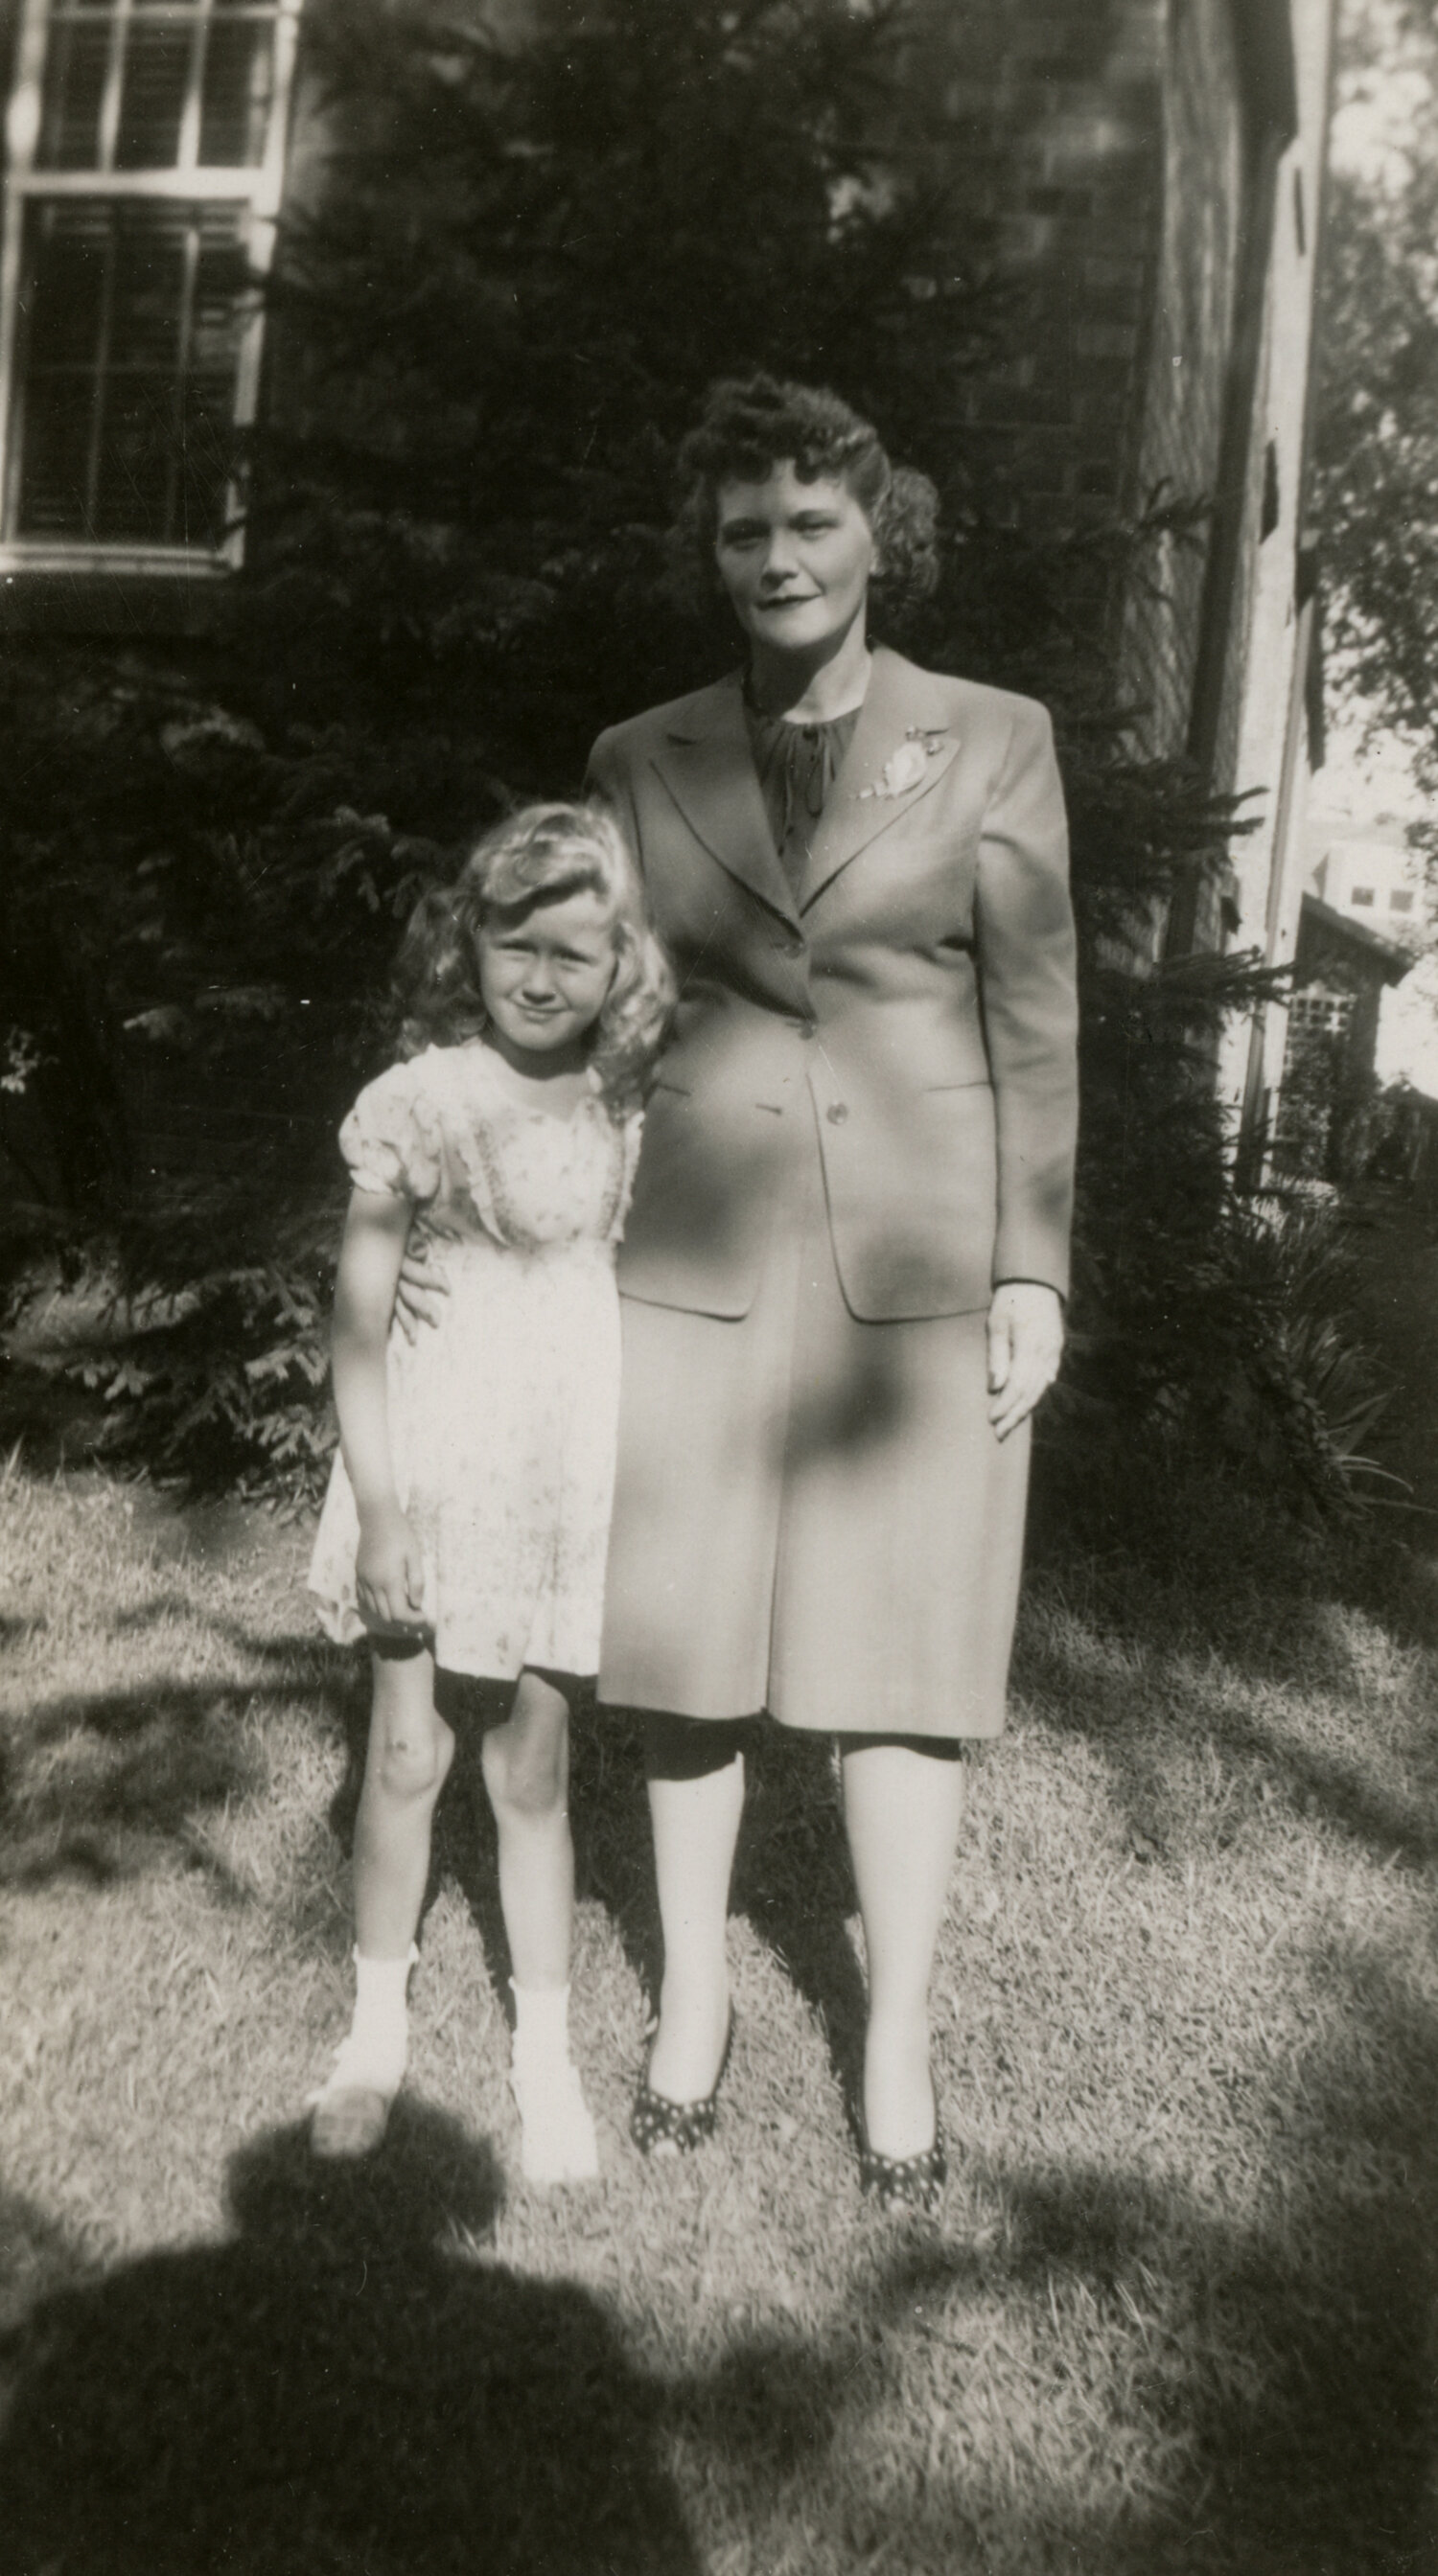
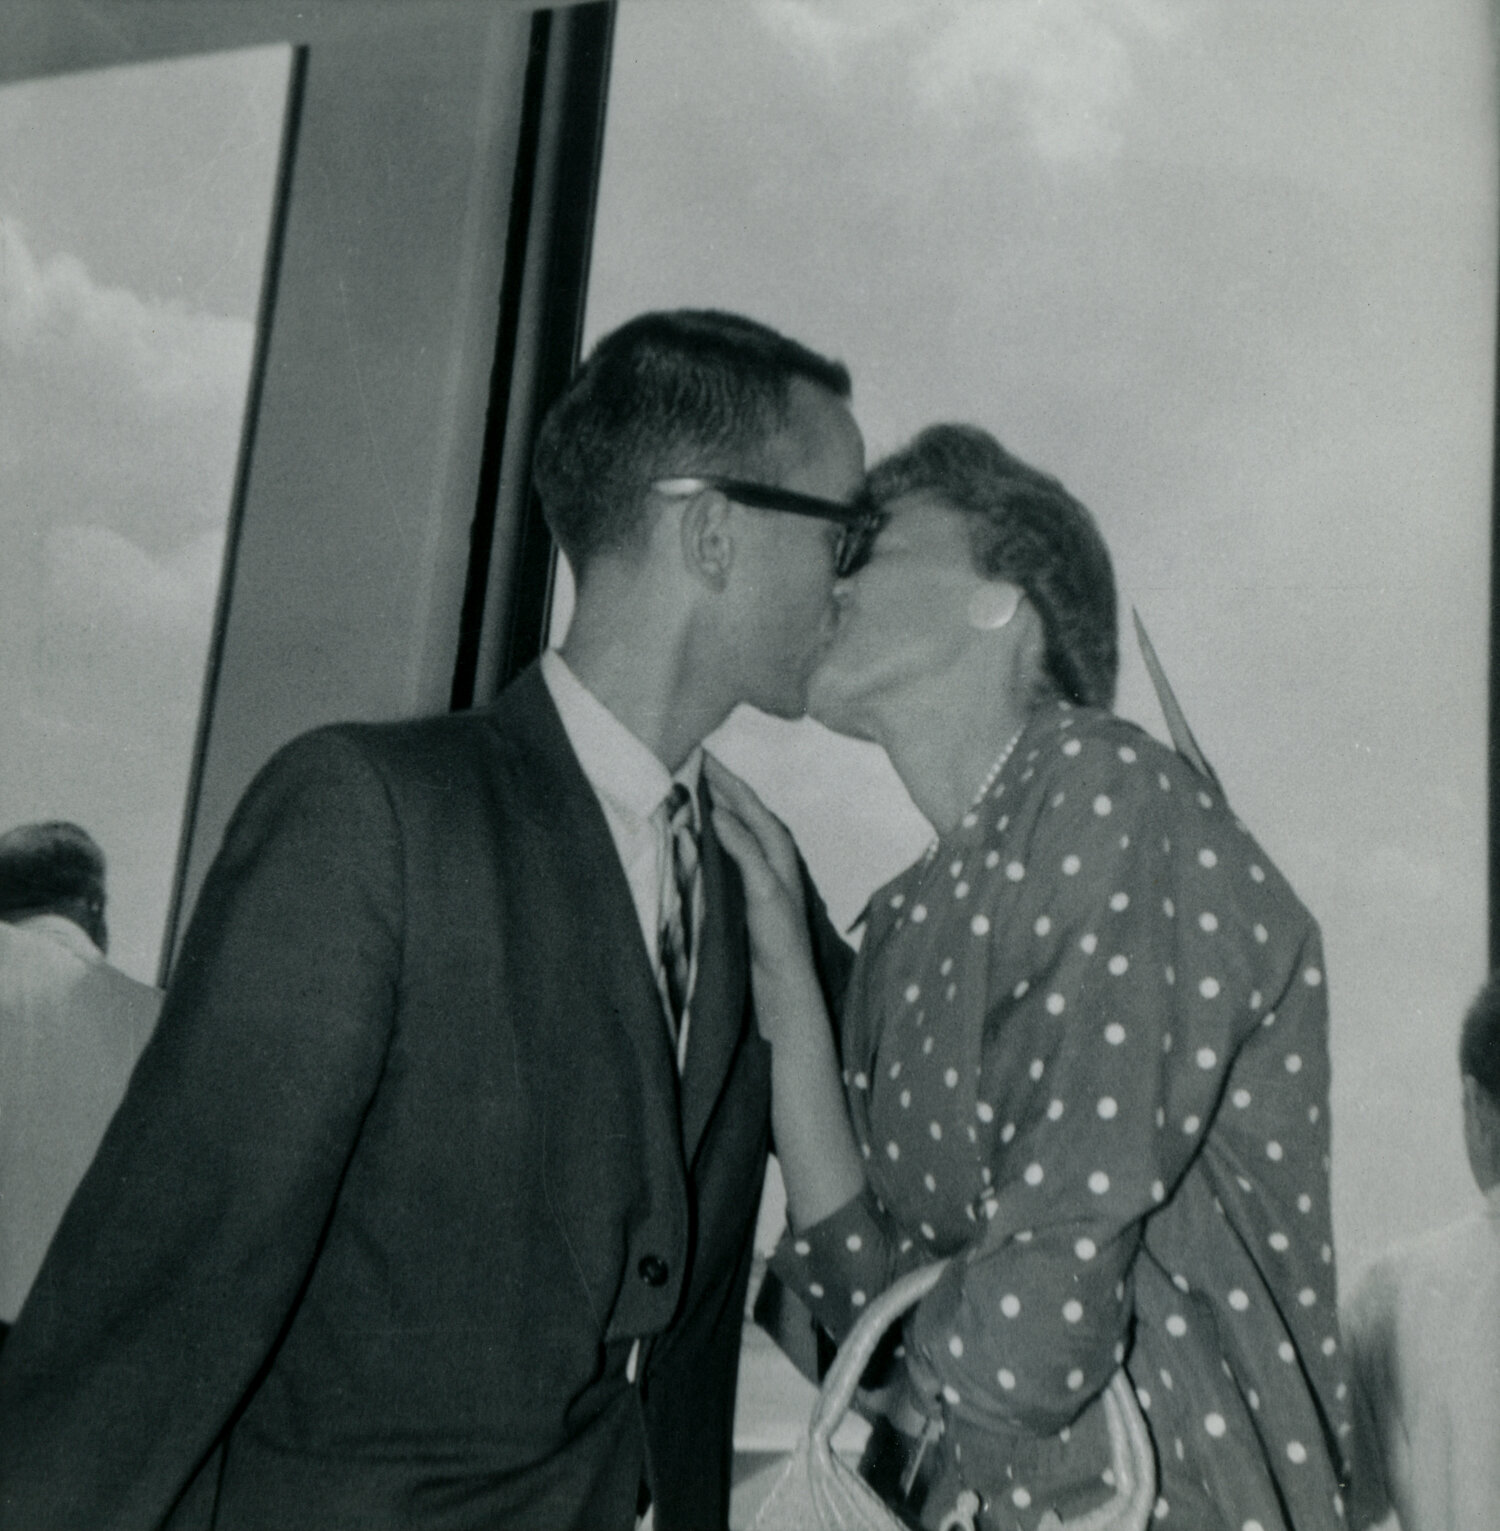
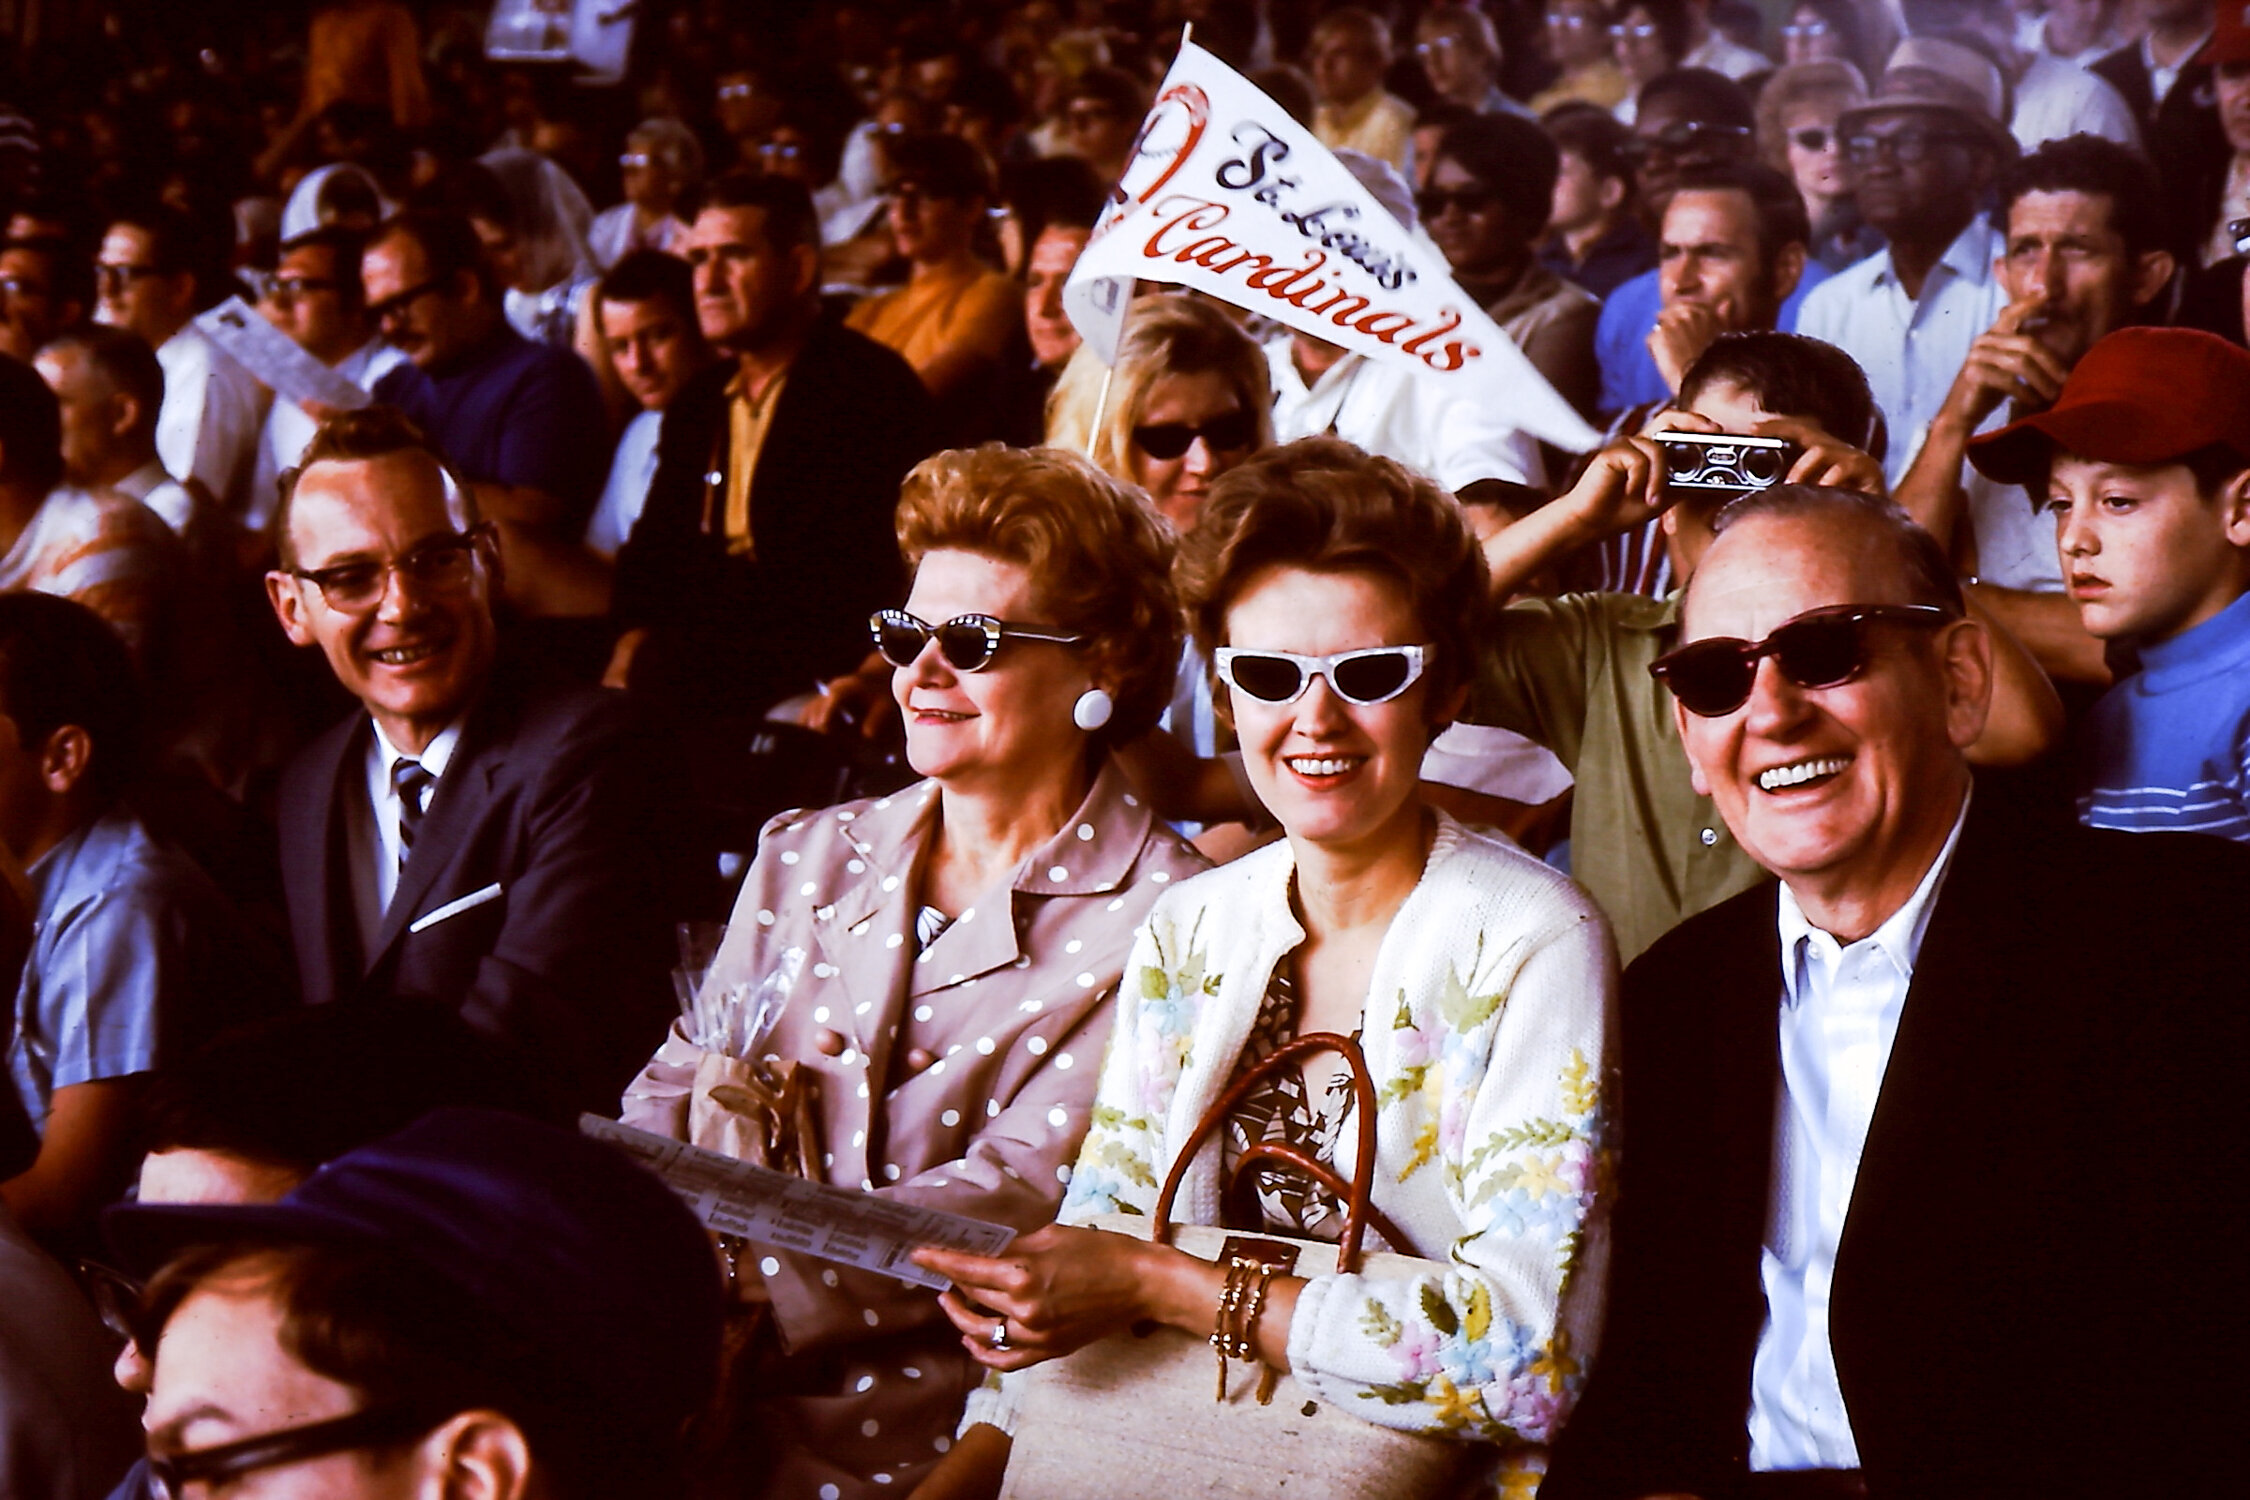
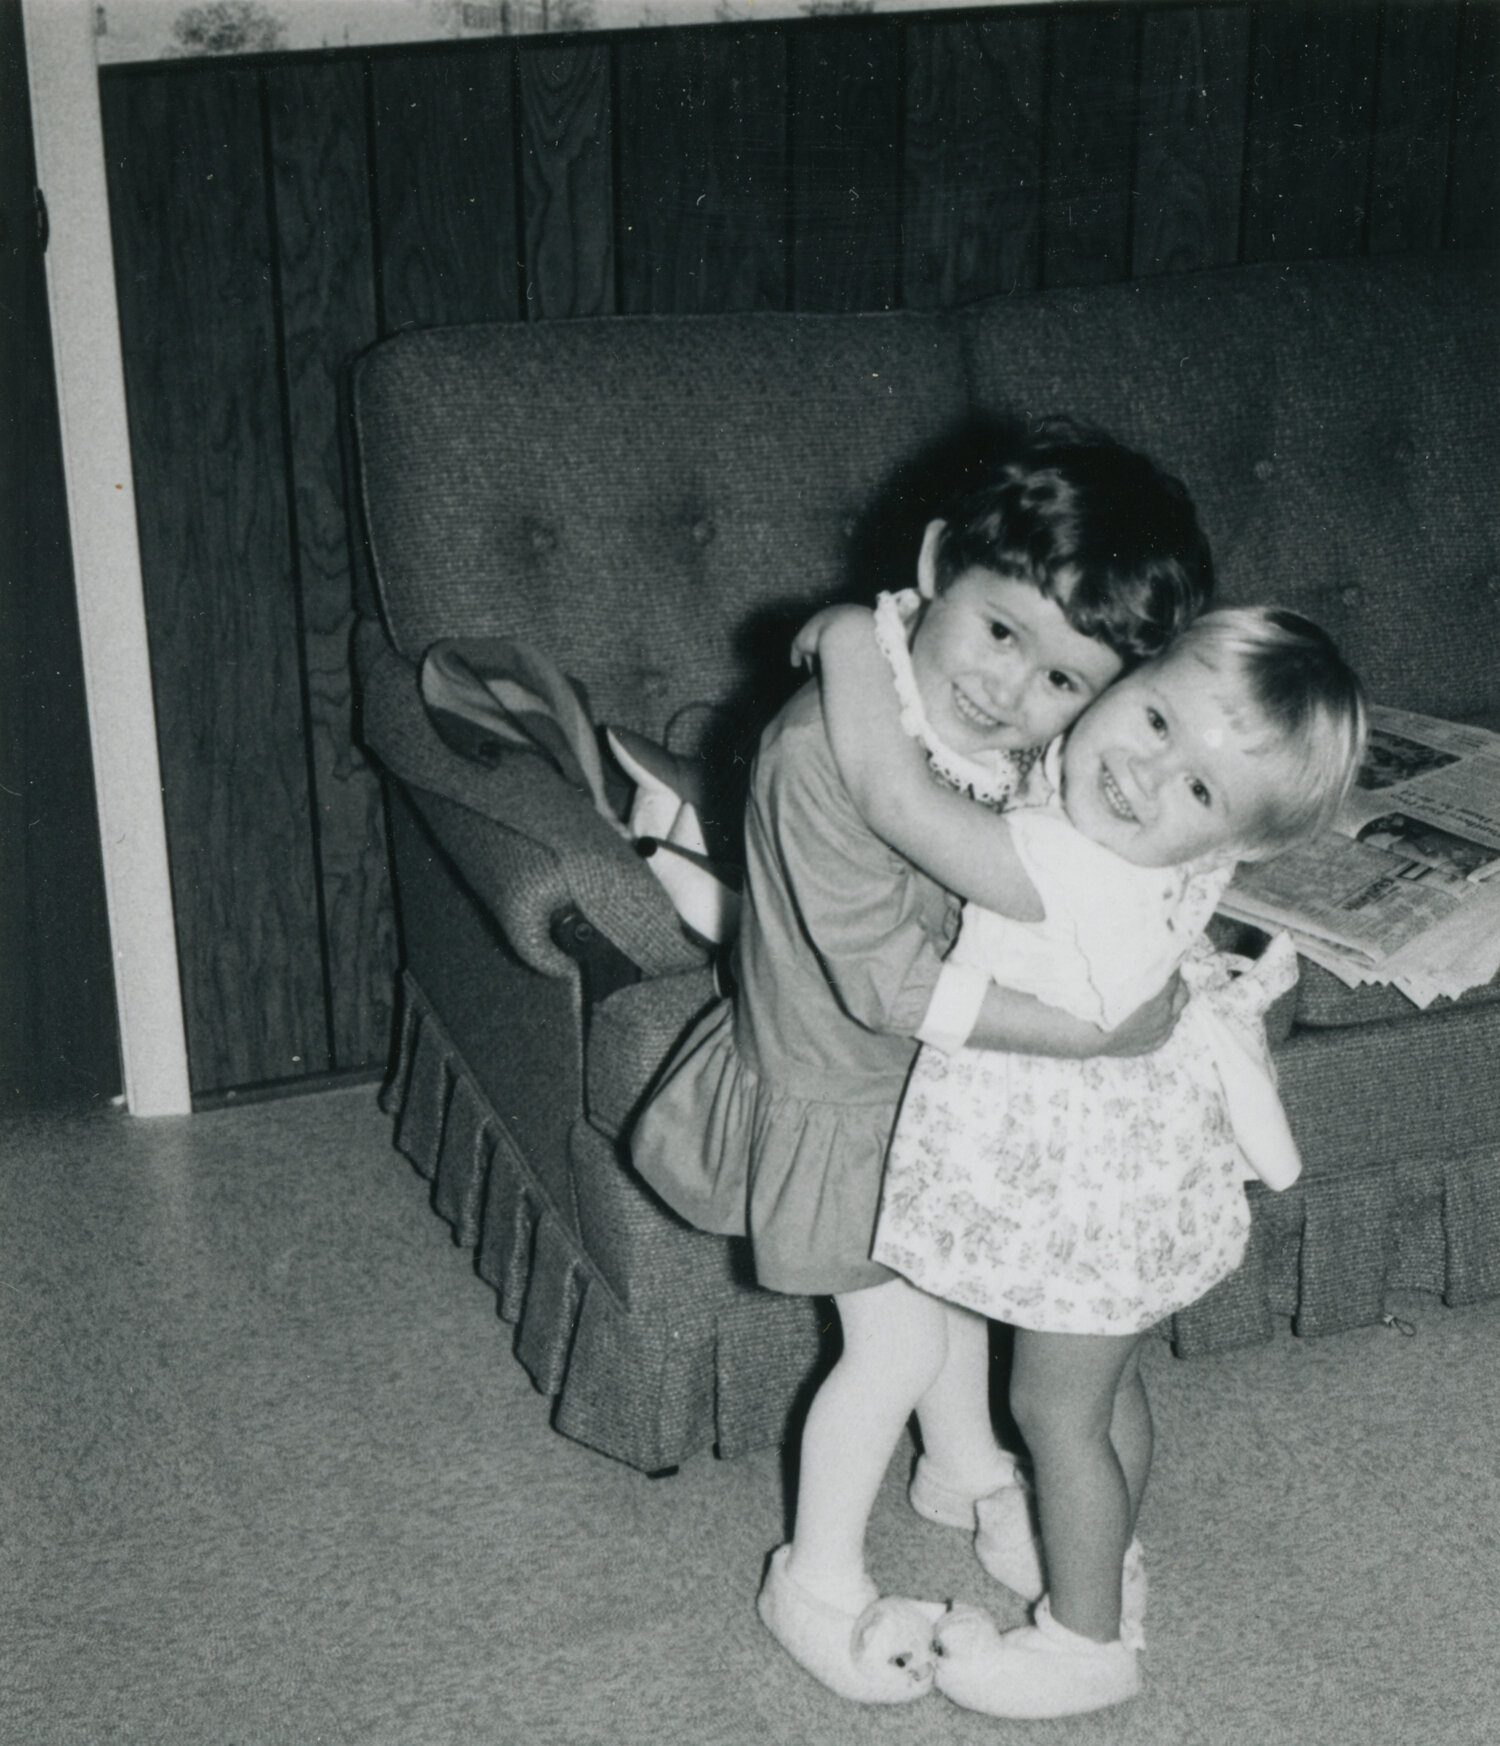
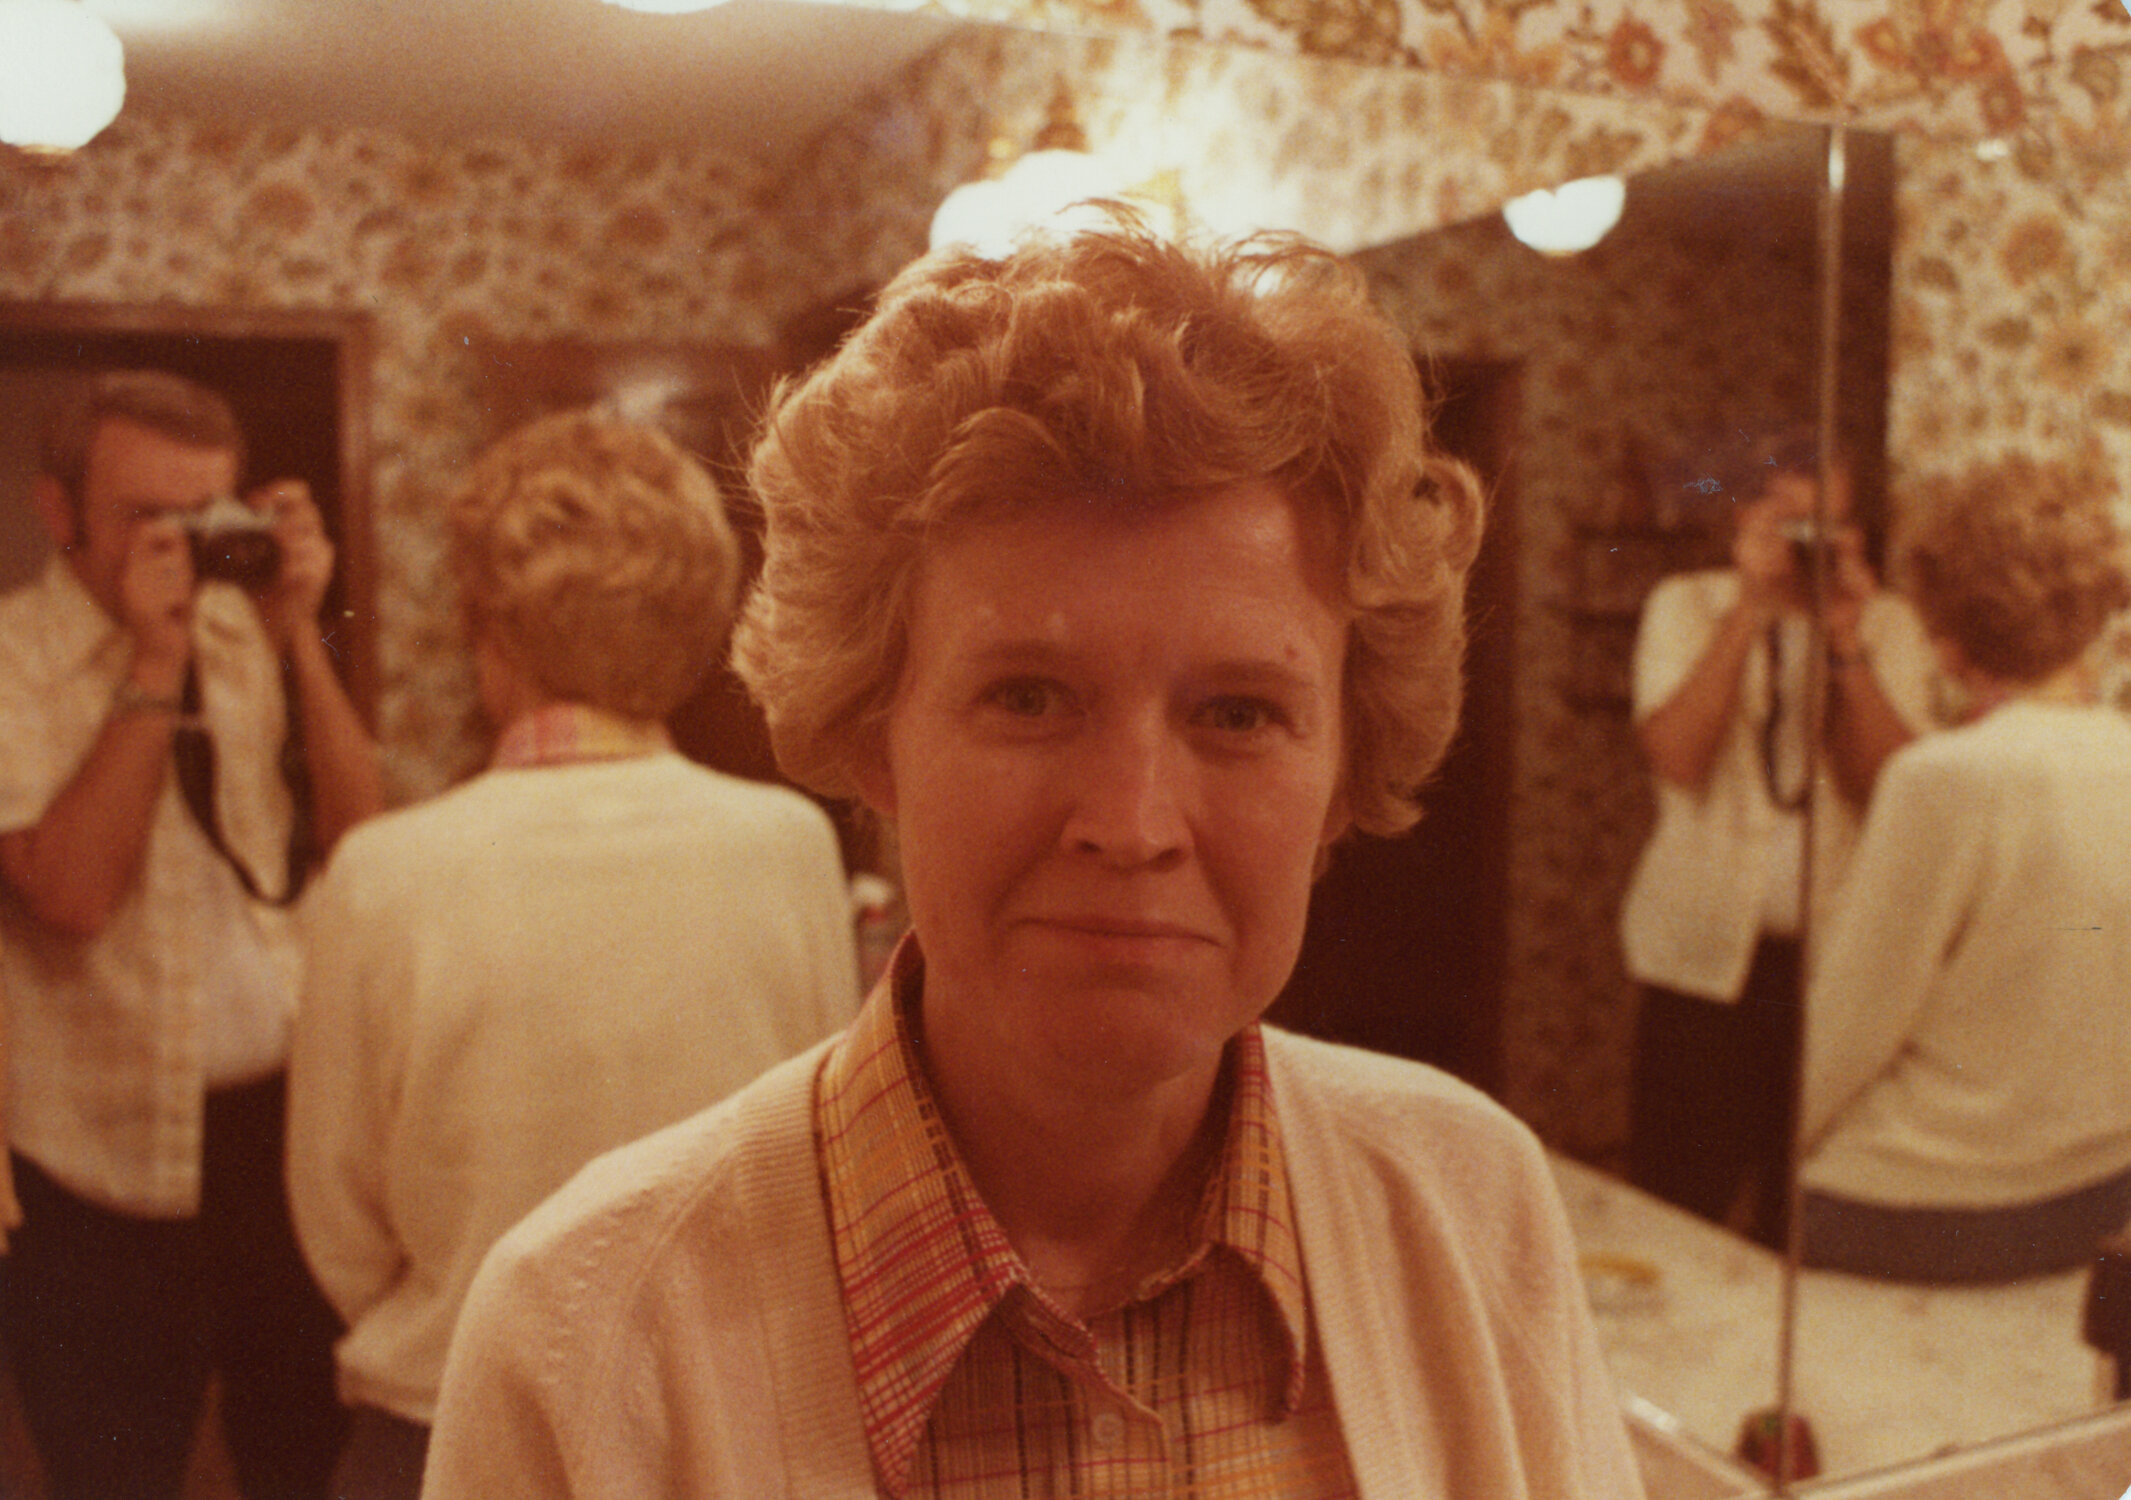
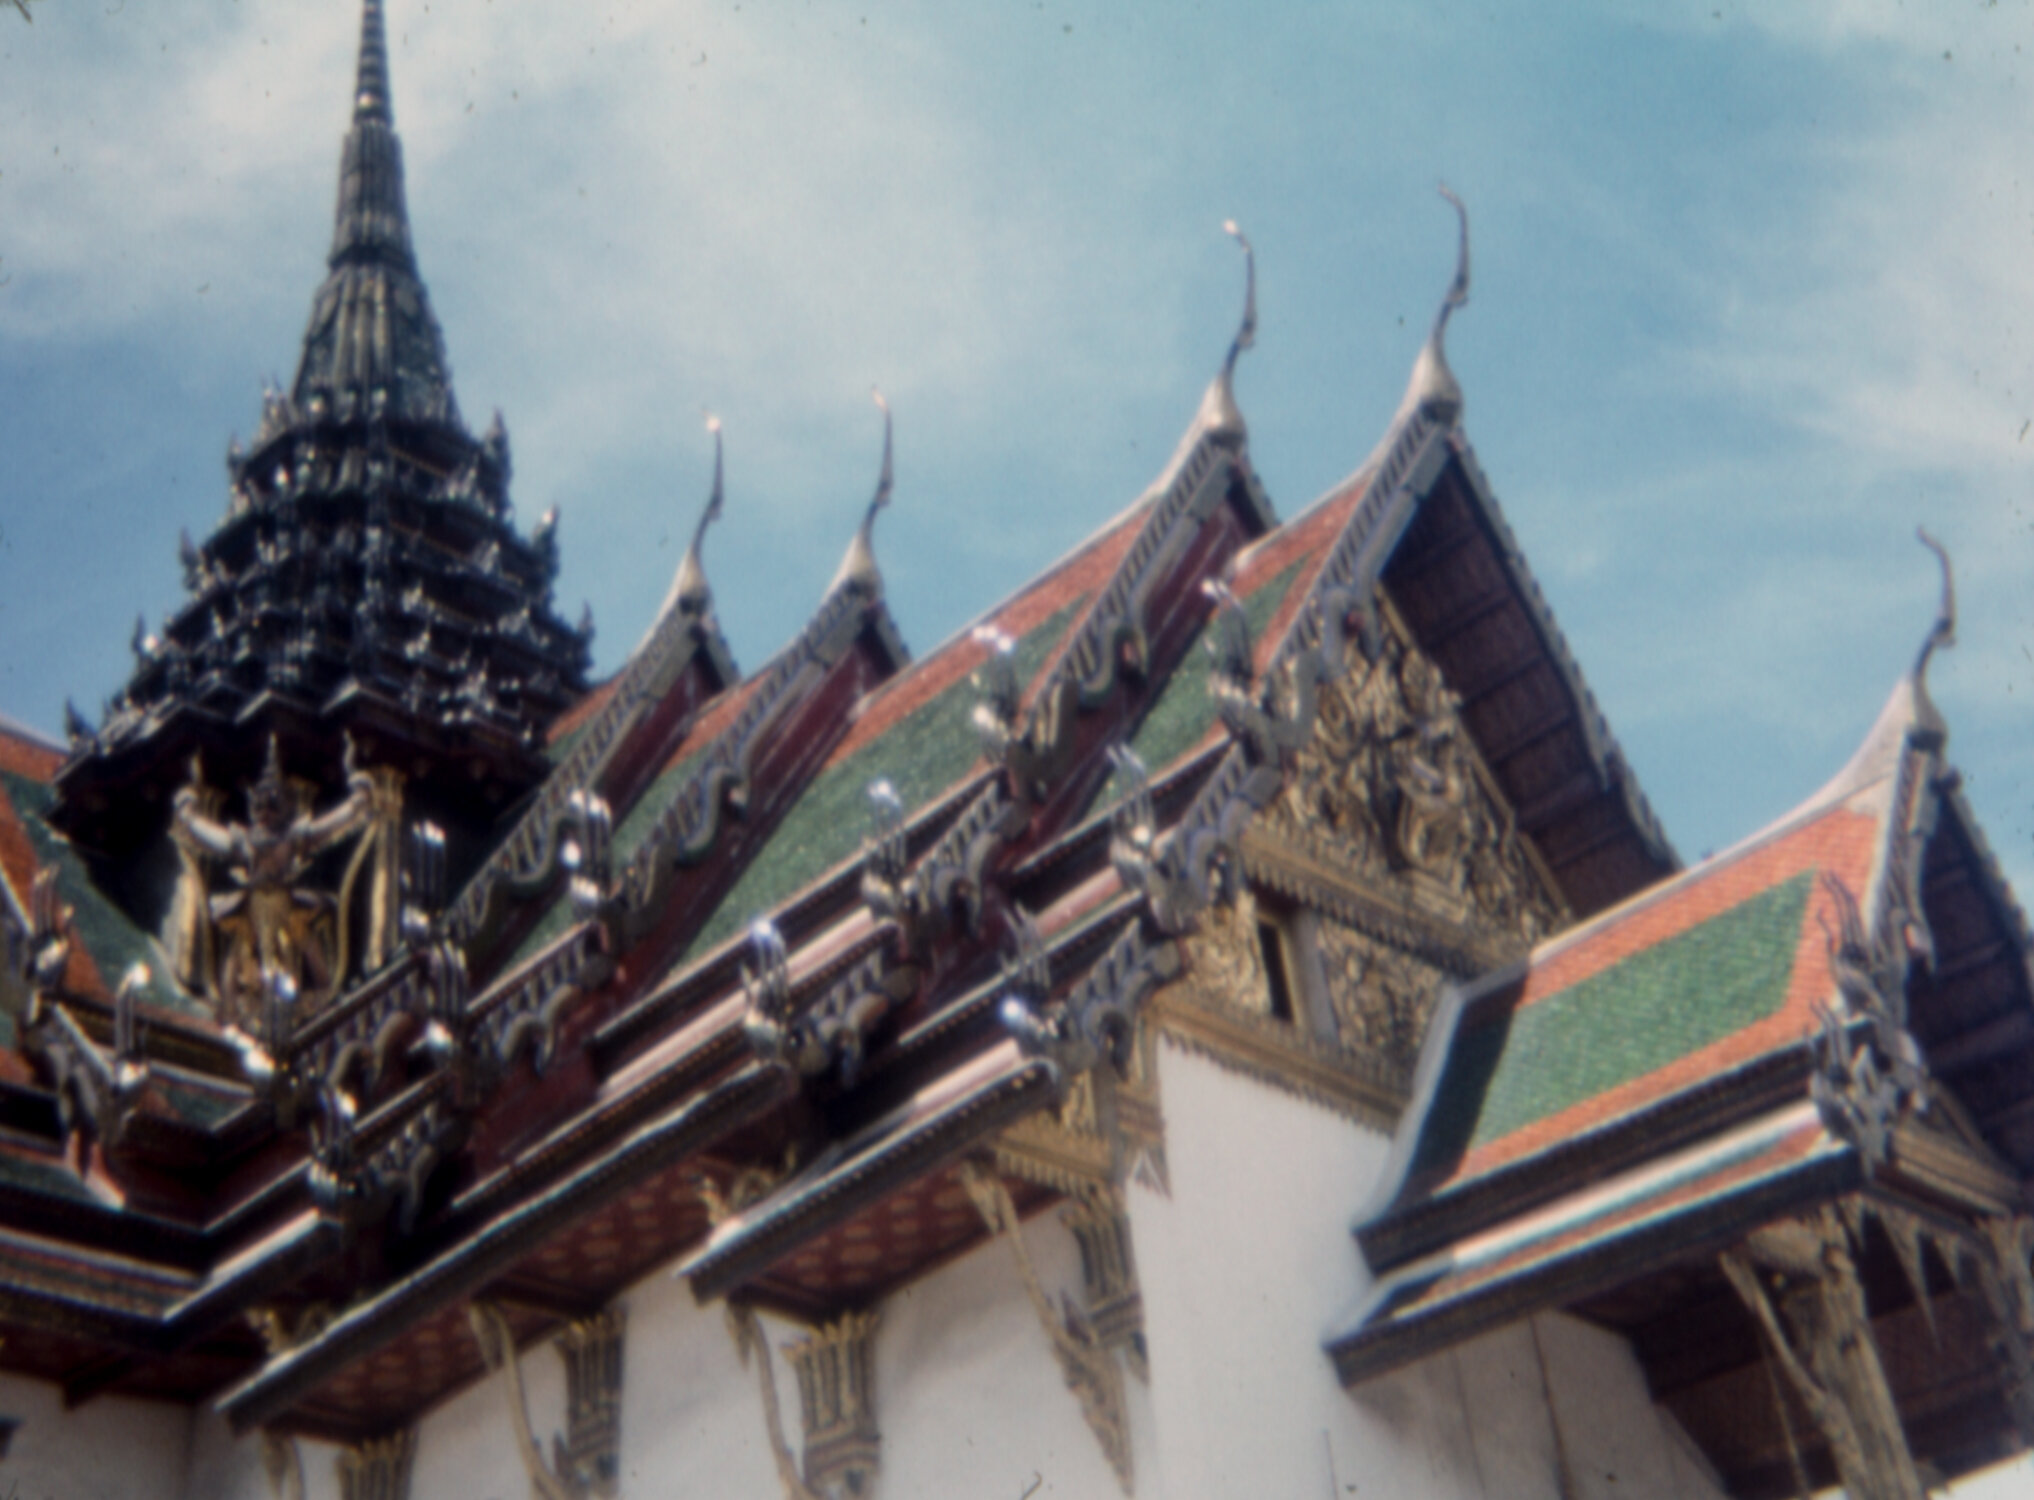
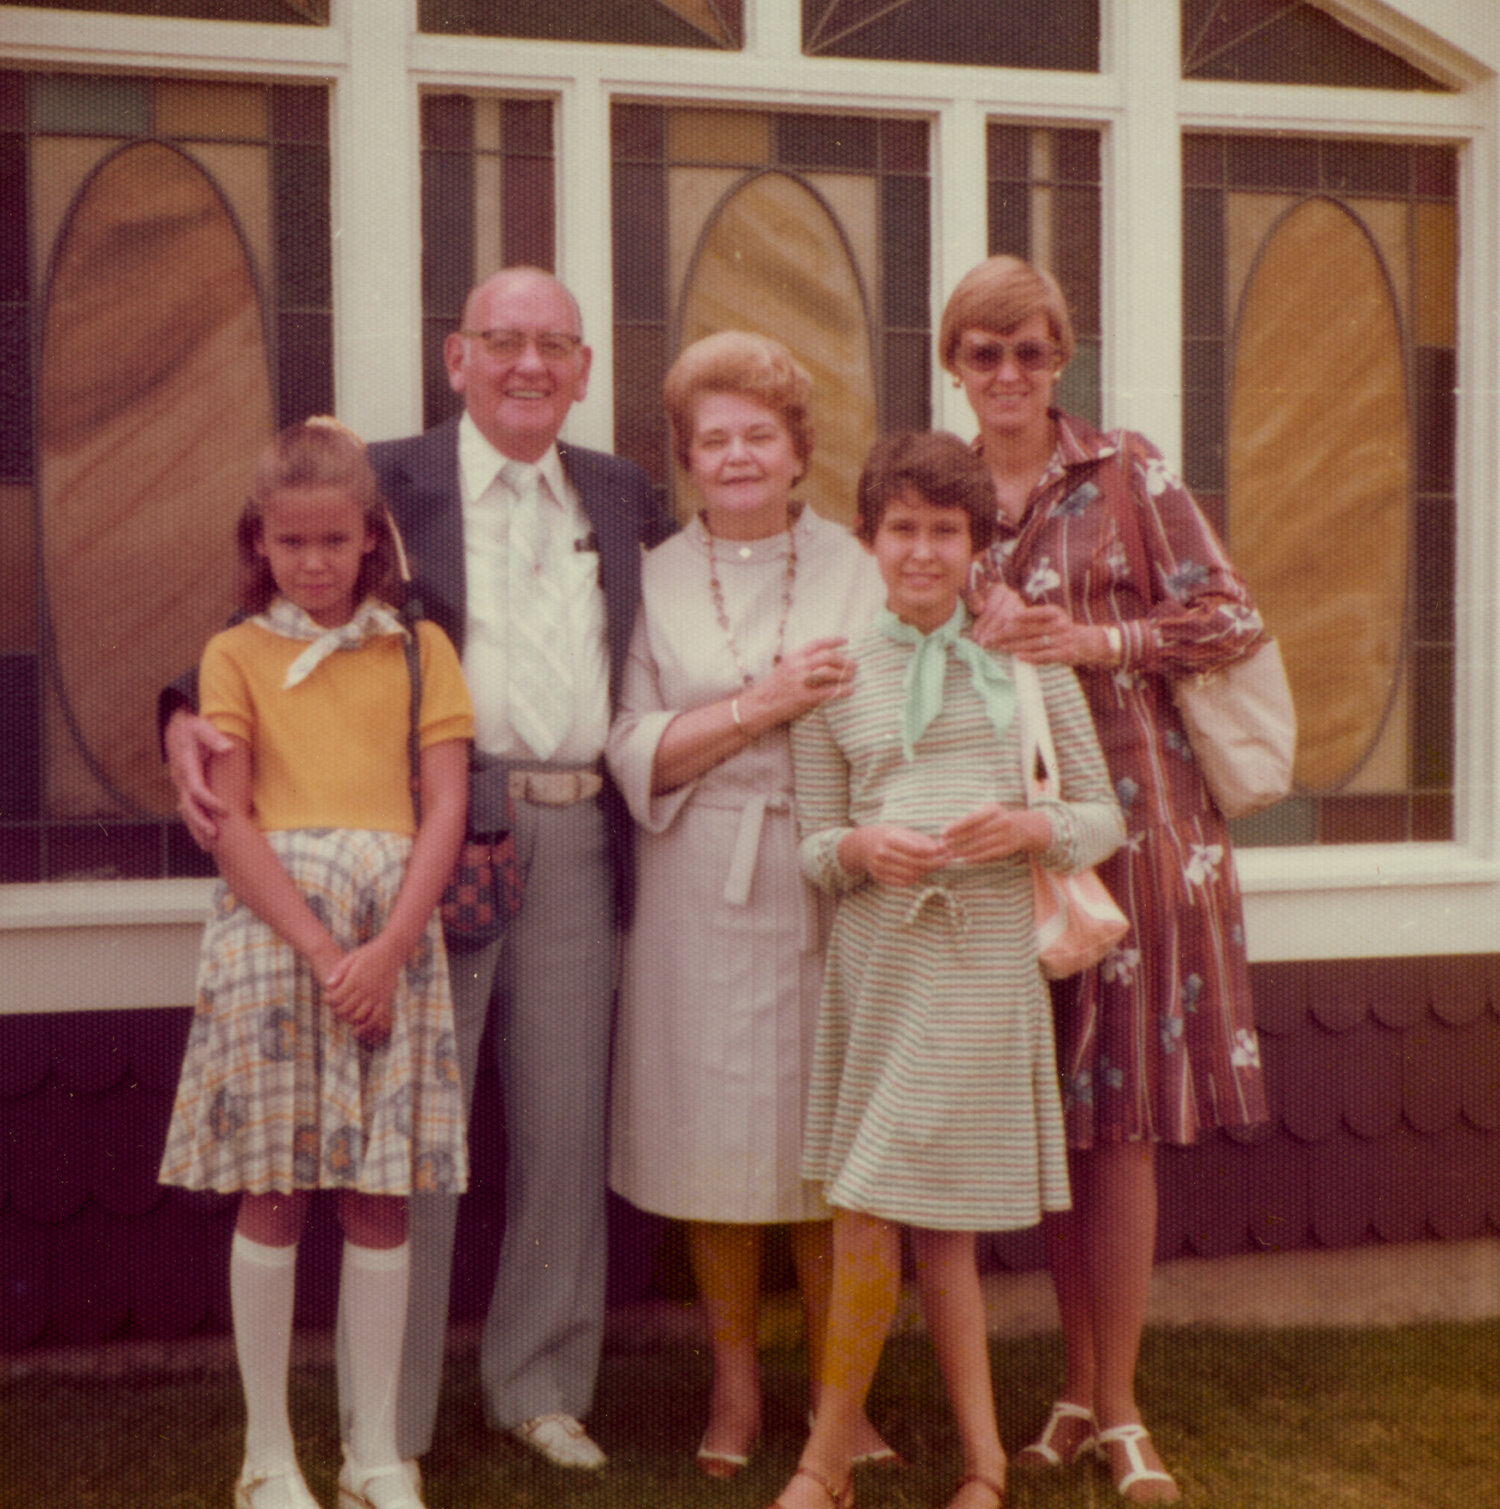
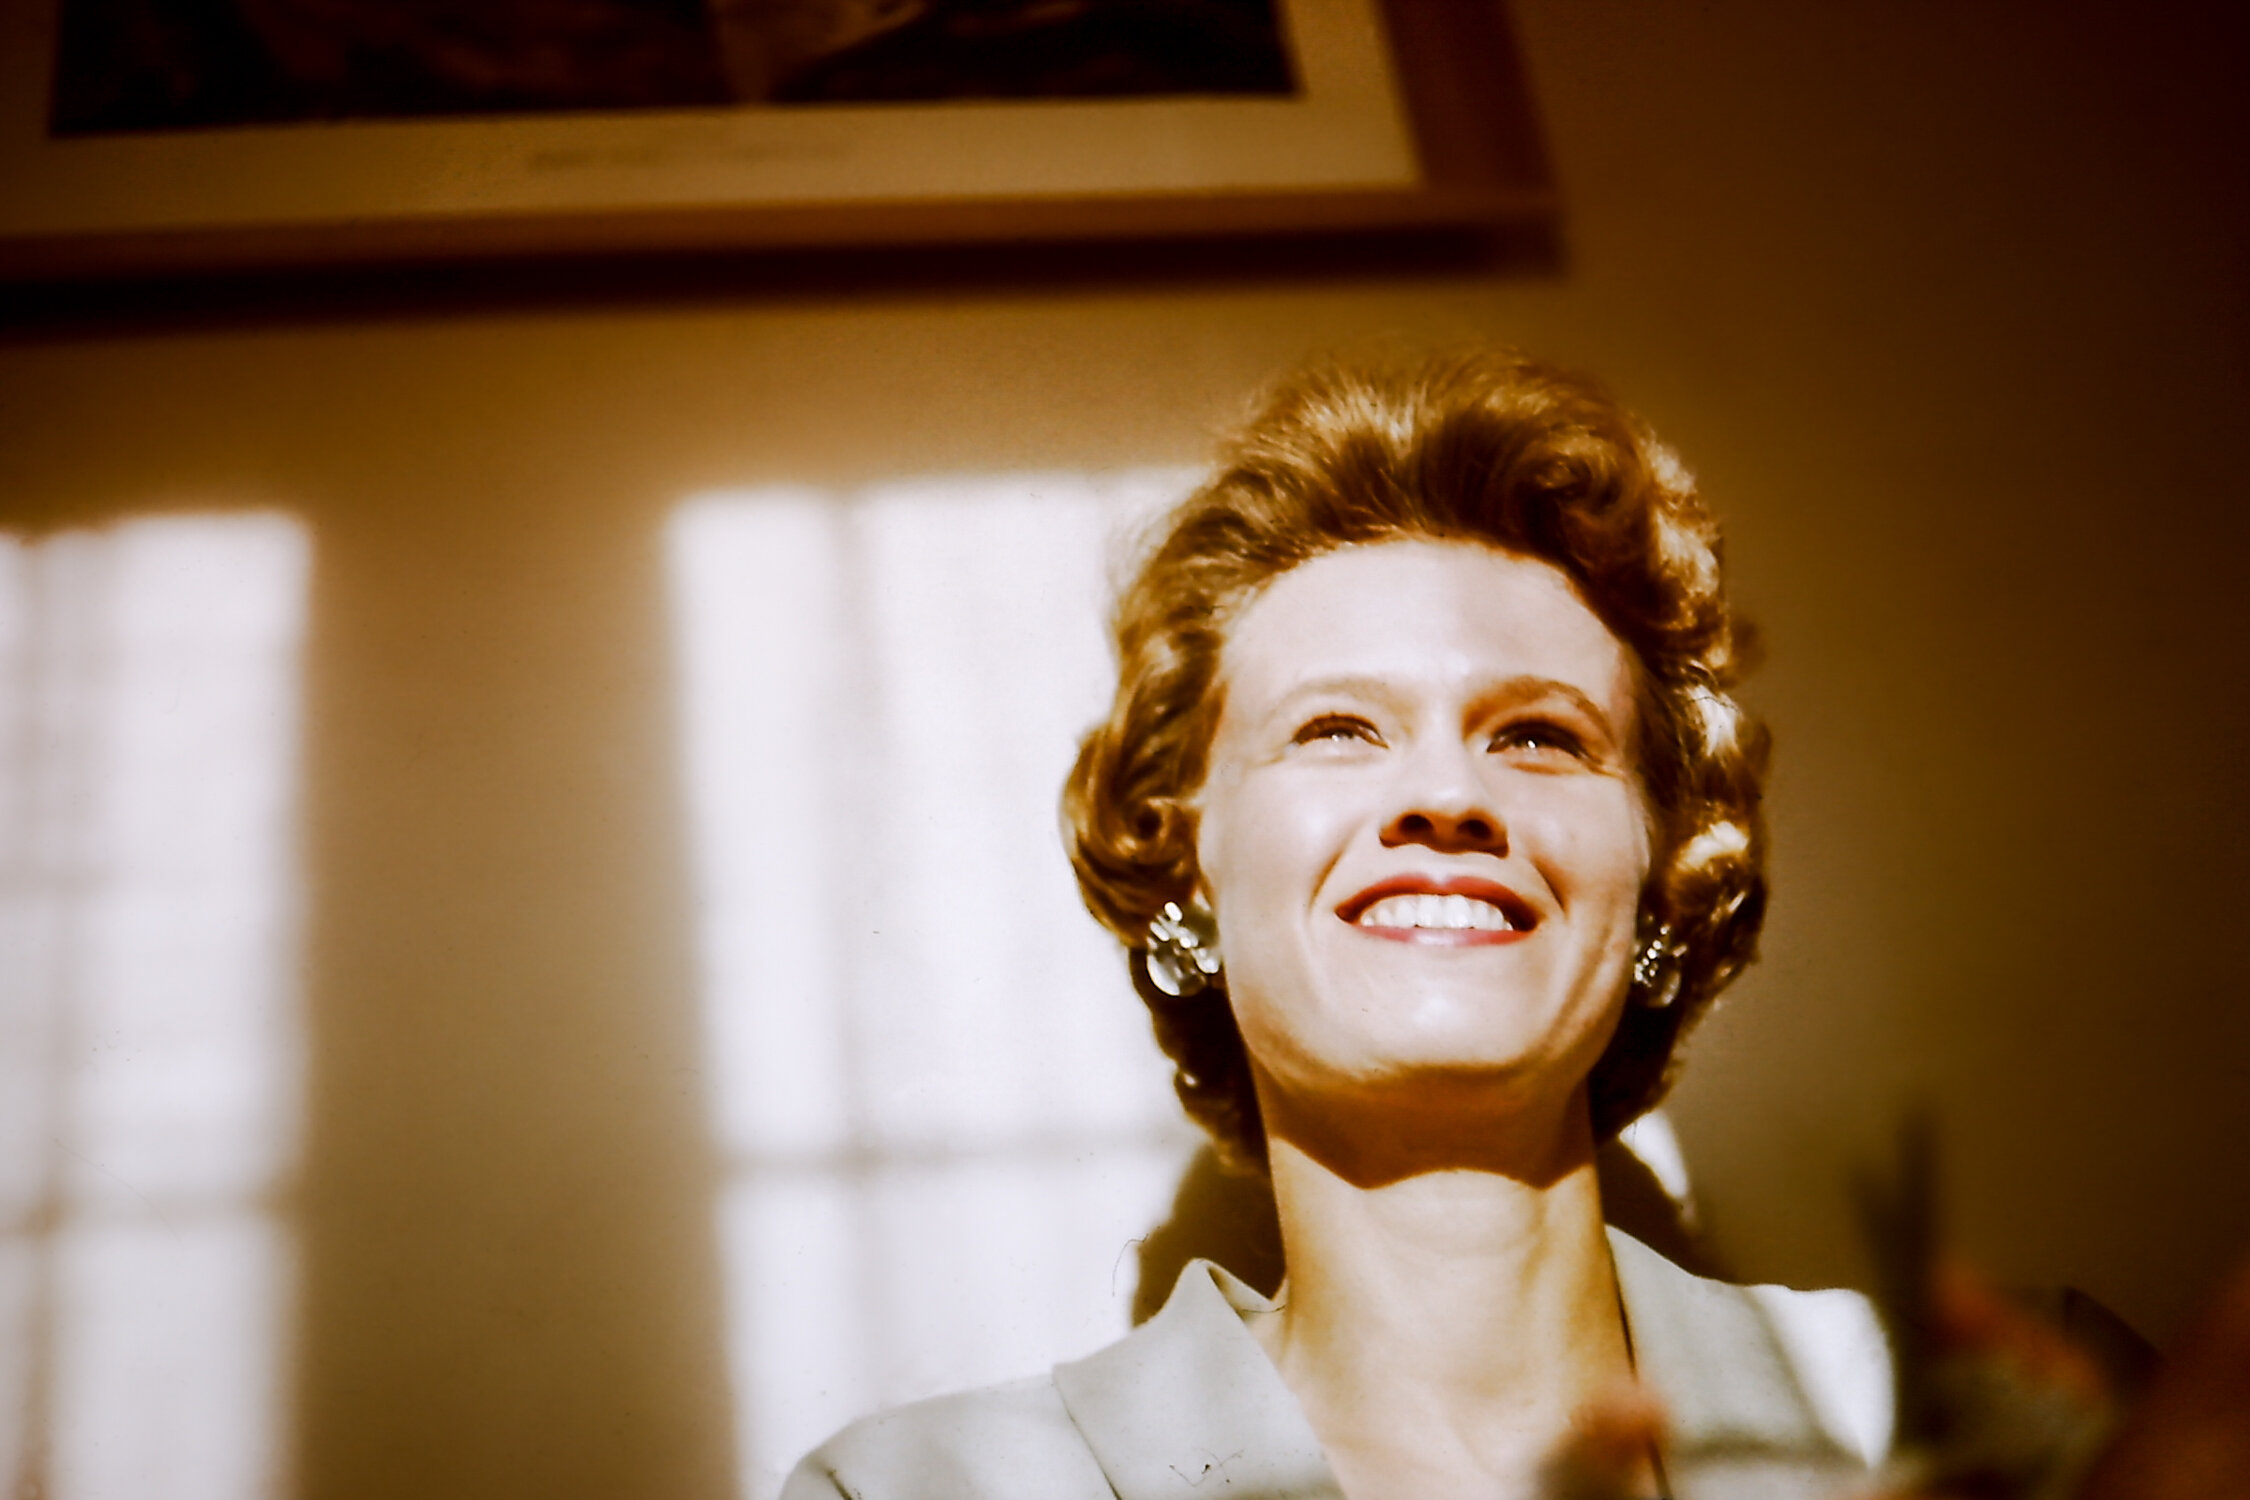
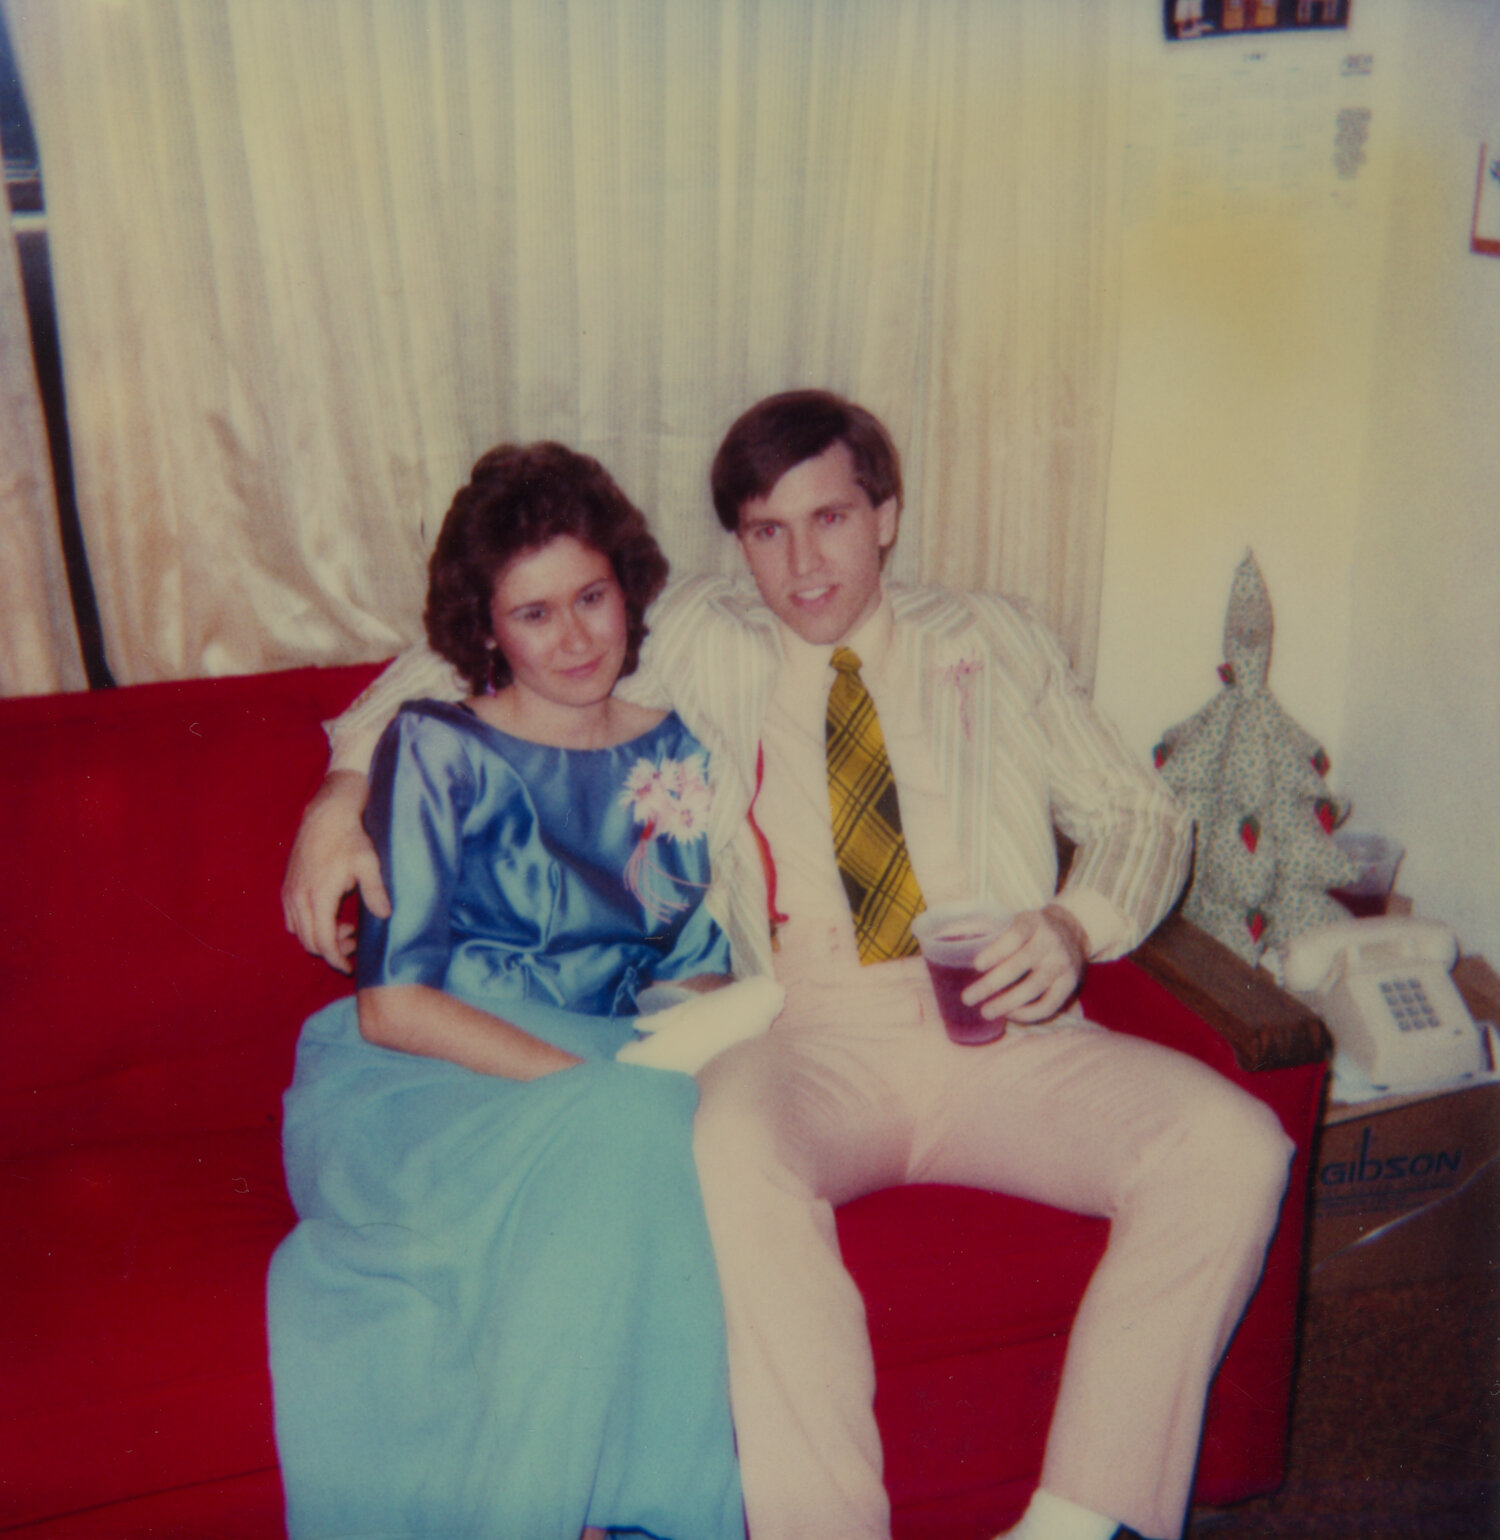
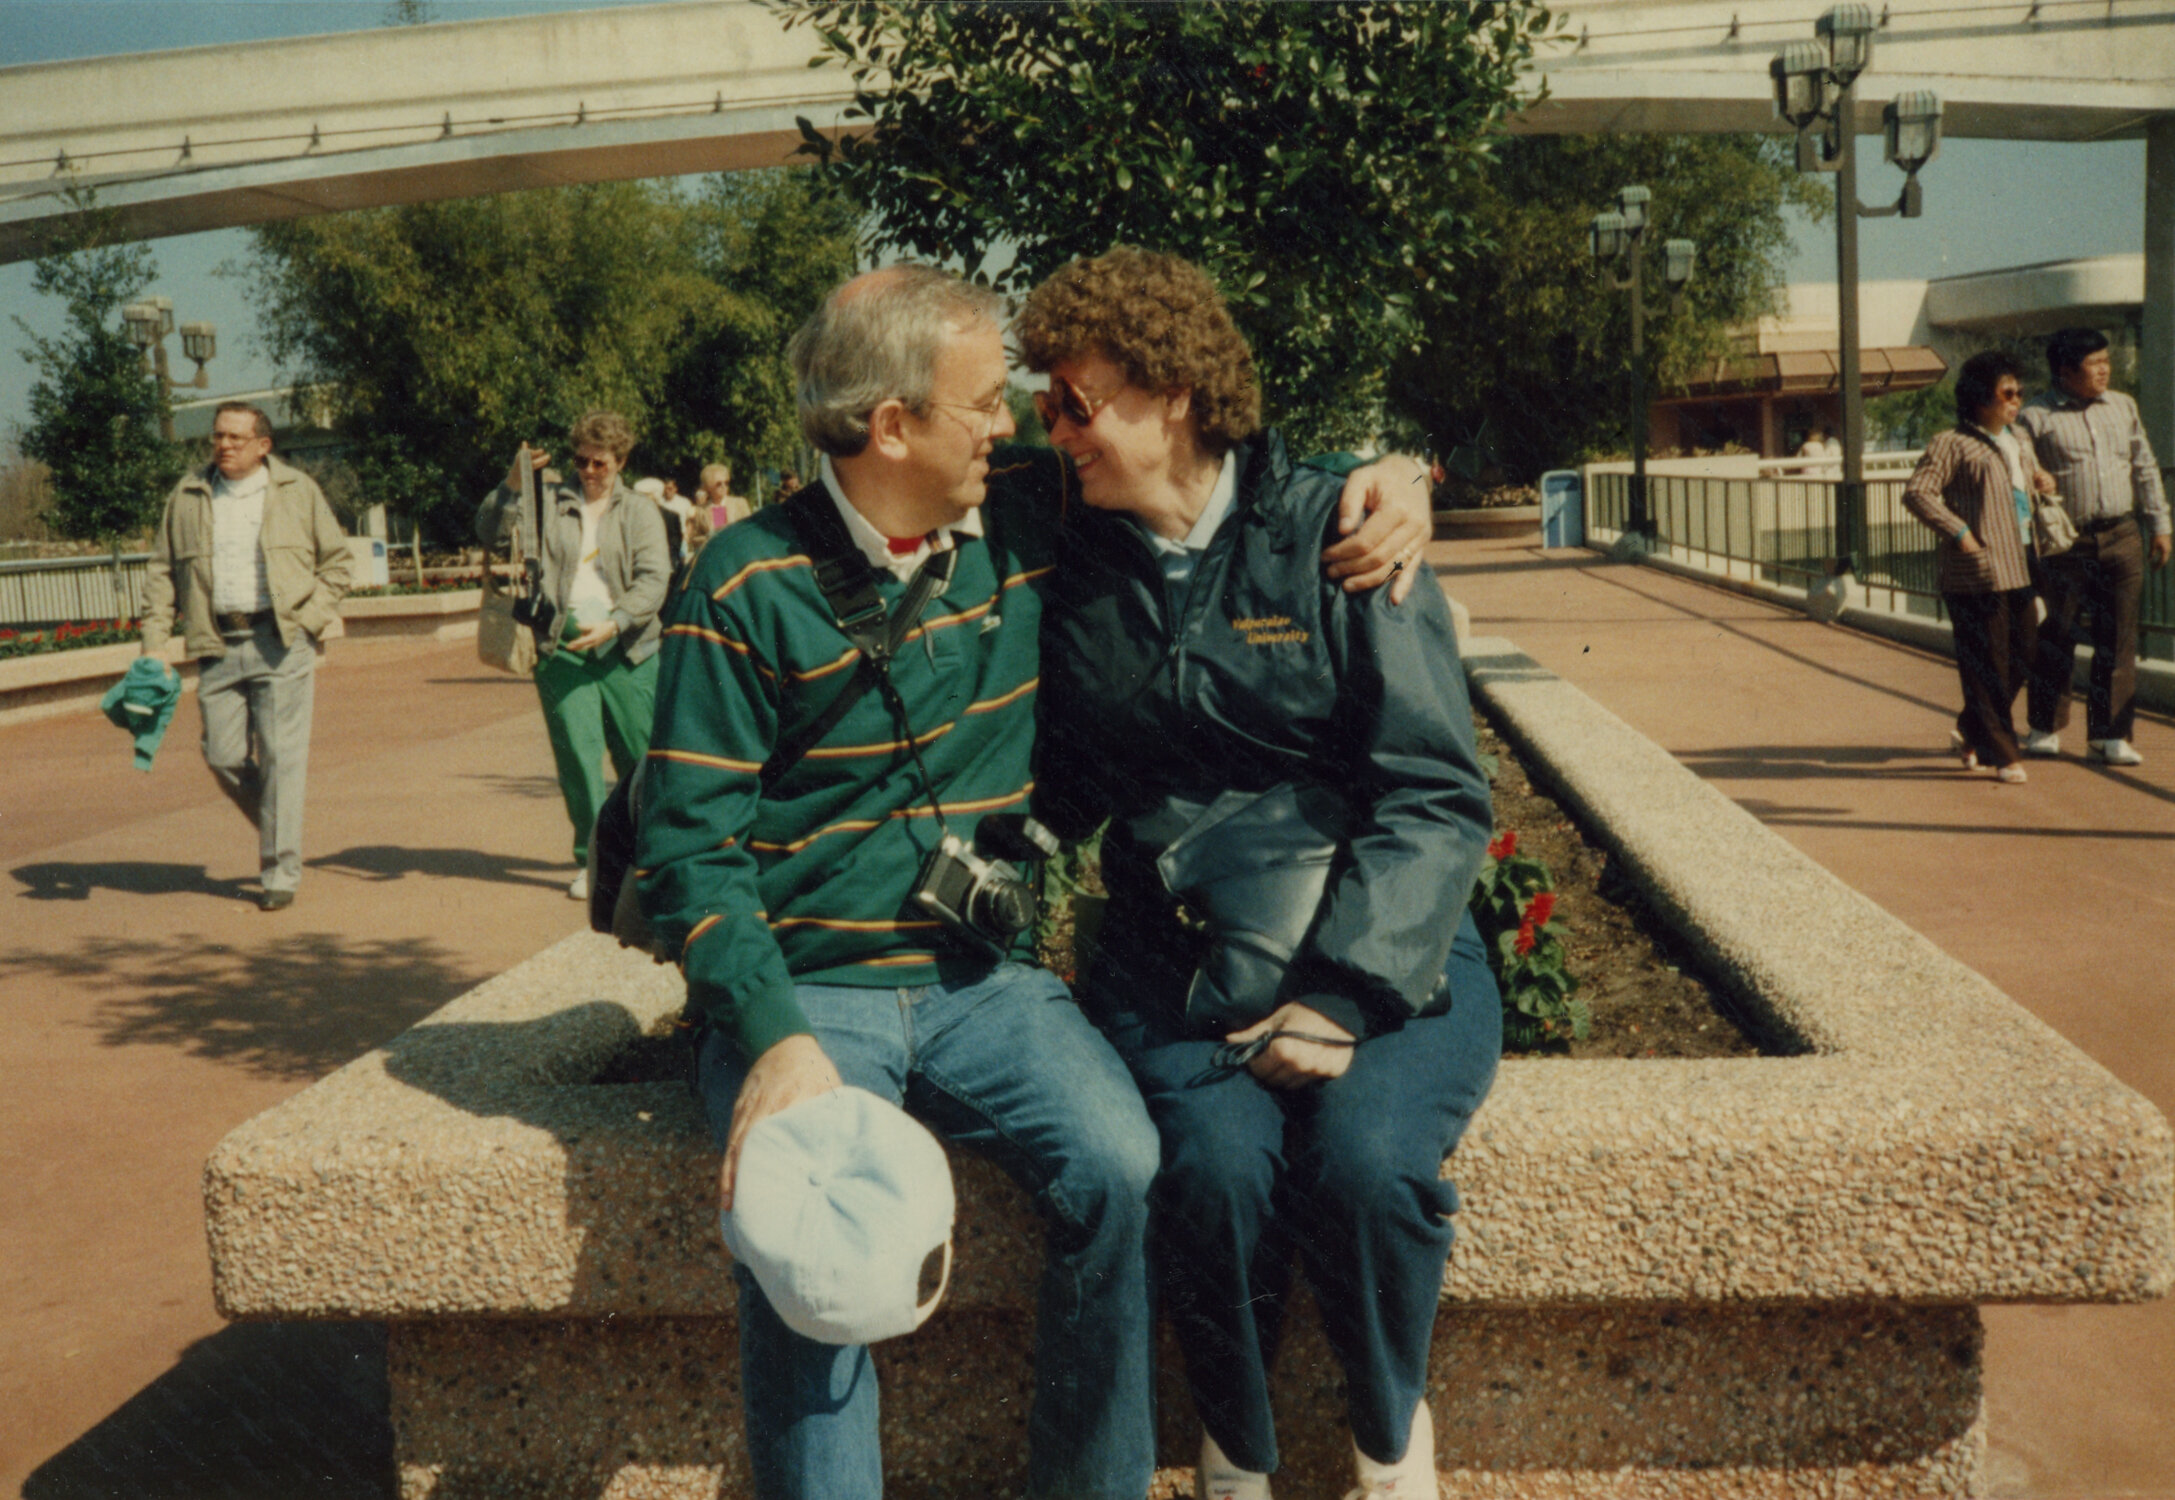
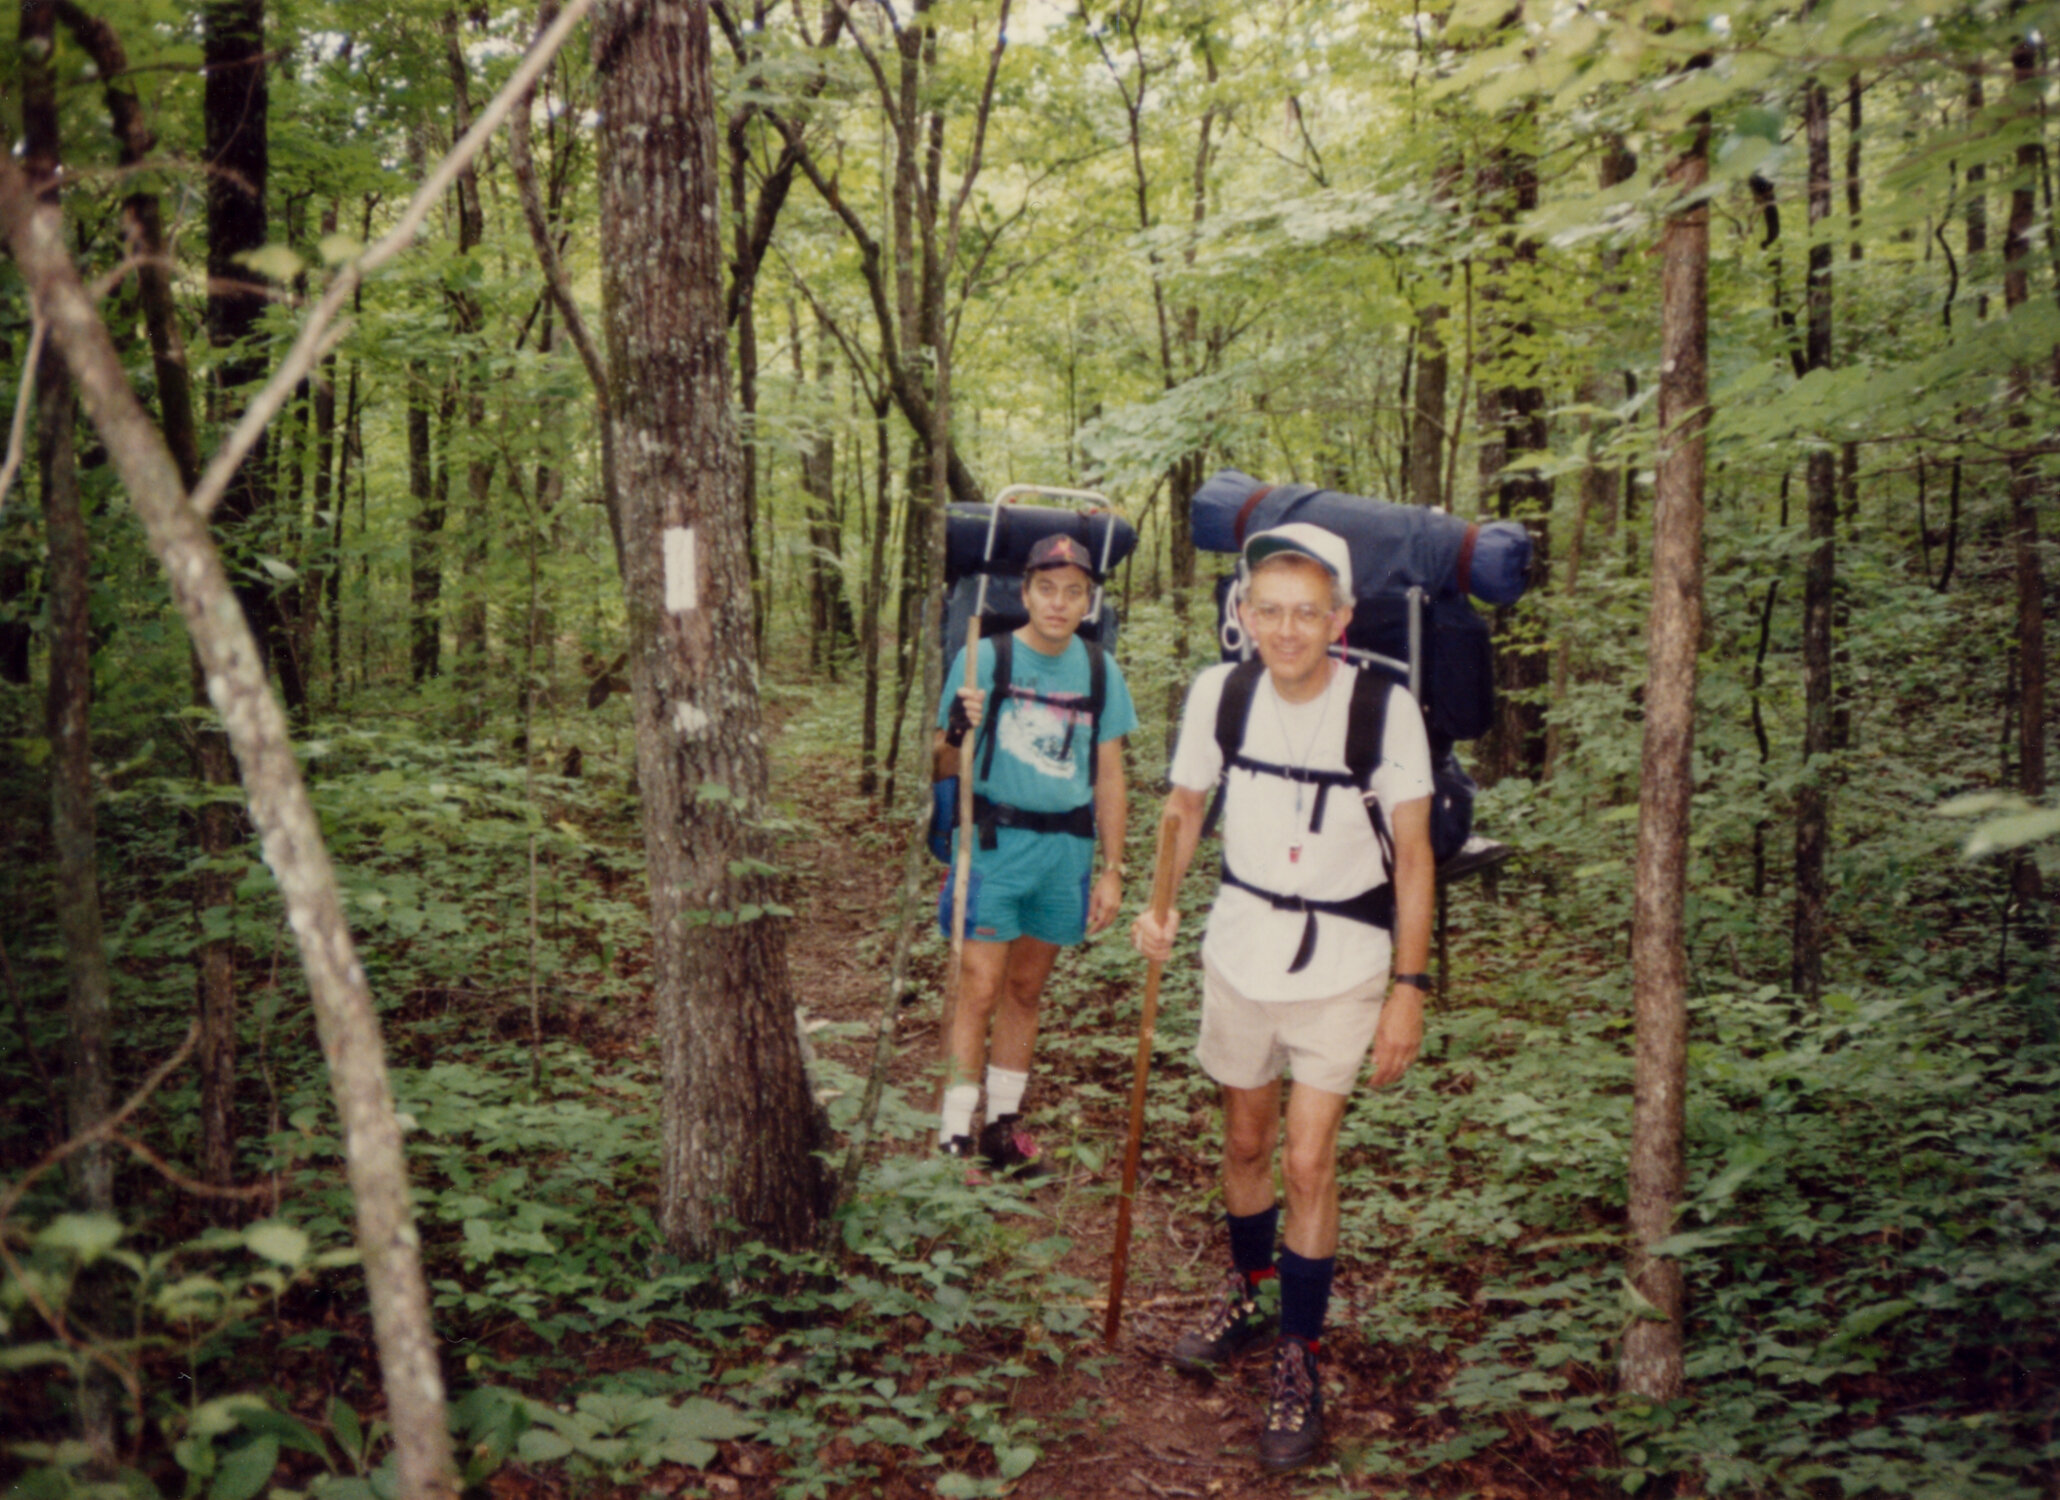
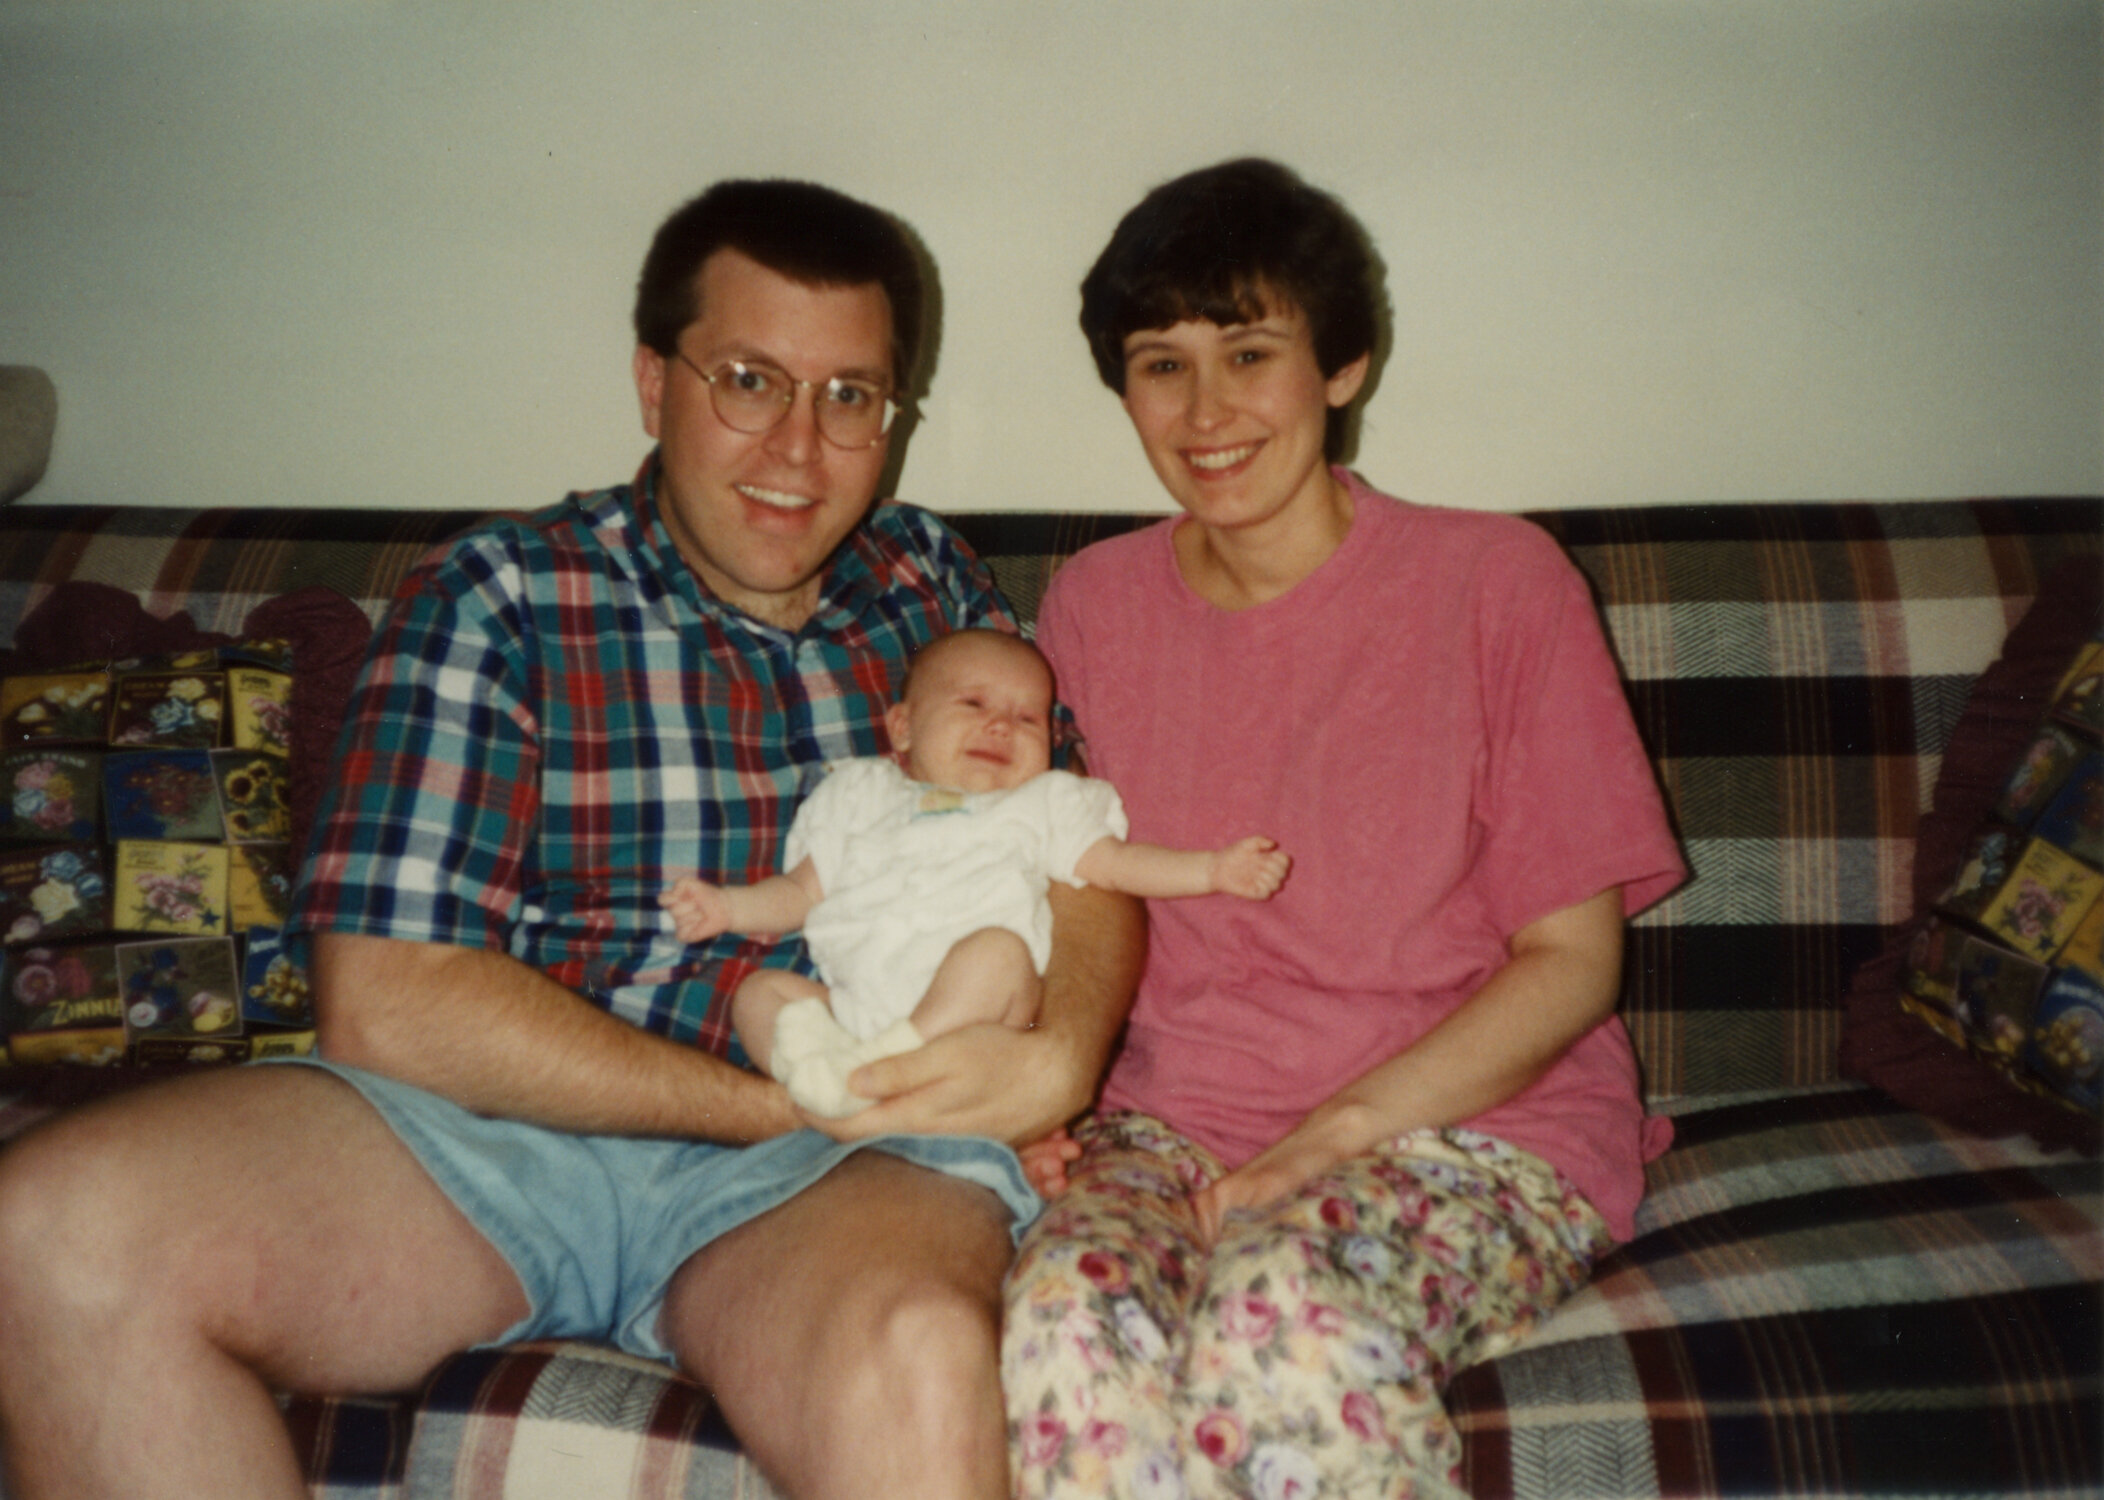
With 2020 being as difficult as it was, I feel so blessed that I had the chance to revisit old photos over the course of the year. Even though I primarily worked on this project on weekends, I still felt like I was spending my year with old relatives and loved ones. I got to witness my mom growing up, moving around the world to places like Tehran and Texas. I watched my parents fall in love over the course of their college experience, witnessed my own childhood through new eyes. And I even got the opportunity to learn more about my grandparents. Suddenly these people I'd loved for my whole life became new, they became more real to me in the photos.
People all over the internet have given all sorts of advice and directions for curating a family photo archive. I'm definitely not the first. But what I found was that a lot of the blogs and articles about archiving gave a lot of the same advice. They also discounted how much work and energy this process could take. I don't know if those moms were just more choosey about which images they added to their curated collection or what, but it will have taken me a year at least to sort through, collect, scan, and organize my collection of family photos. Not a week. Not a weekend. Not even an intense month. This took me hours upon hours of uninterrupted work. It's made even more difficult by digital photo clutter and the fact that my family and I take an excess amount of photos.
If you're finding that you want to embark on this sort of adventure, whether for yourself or your aging parents or for your children, I'm here to share my experience while also hopefully giving you some tips to make the task less daunting.


Starting Out
Allow me to preface this by stating that my way of doing things isn't the only way of doing things. I'm a very controlling person who's specific about her photos, and I wanted the highest quality of images that I could possibly achieve. More than that, I know not everyone has the time or the funds to do this type of project, so don't feel like you have to do any of this to create an effective archive of your own. This is just my process, and I recognize just how chaotic it is.
Get Organized
As with most archive blog posts, I'm going to start by suggesting you get organized. Gather your materials, make sure you know what you're doing, maybe even do some research about this process before you start anything right away. One of my biggest mistakes and regrets is that I jumped in without really understanding how I was going to move forward with this process, especially when it came to file names and formats. You'll also want to take some time to gather your photos. Maybe that means talking to relatives or finding the shoeboxes hidden in basements with all the old photos, or maybe that just means digging out your old hard drive and figuring out where you saved things. Whatever the case, take your time going through your collection and figuring out how much work there is to do.
Make a Plan
Originally my goal with this project when I sat down in March 2020 was to have most, if not all, of this archive completed by Christmas in December so I could surprise my parents with it as a gift. It may seem ridiculous to be planning that far in advance, but I knew from the get-go that I had thousands of photos to scan and edit, and I didn't want to take any chances. I think having a deadline — even if it wasn't permanent or necessary — really helped me focus. It can be incredibly overwhelming if you're just trying to scan a bunch of photos with no end in sight, so try to create a plan for how you're going to achieve this goal. Maybe like me you can only scan on weekends or you want to finish the project before a specific date. Maybe you just want to go through all of your relatives' photos before you see them again. Whatever the case, planning and scheduling can make your task feel less daunting.
Choose your Equipment
Chances are you will need to have certain equipment to make this archiving happen. Maybe that means purchasing a scanner or updating some software, maybe you'll need a new hard drive or some sort of editing software to get the best photo quality you can. Or maybe that just means finding some service out there to do the physical act of scanning. Whatever the case, be sure to do research before making any big decisions about purchases. You don't necessarily need the best electronics on the market, but if you want to invest in something, I think investing in a nice scanner to preserve your family photos is a wonderful thing. Especially if, like me, you find yourself scanning thousands of photos in a short time.
Decide which photos to include
If you've gathered your family's photos - boxes of prints, digital files, etc. - you probably have a good idea which photos are important and which ones aren't. Obviously you don't need to save and share every single photo from the old days, but you may find it difficult to decide which ones to save and which ones to scrap. For me I thought about it both from personal perspective and a detached, outsider’s perspective.
Personally, I am a sentimental person and I tend to save a LOT of photos. (Like…I probably have upwards of 100,000 images on my various hard drives.) I want to have access to as many as possible, even if it's just a bad photo I took when I was seven. I hold on to things that others probably won't want to see. I also know that I have taken more photos during my youth and my 20s than my brother has, and my family hasn't been present for my life for the last five-ten years. So personally even though I'd want to include 10,000 photos I took in college or a road-trip or with my friends, I know from a family archive perspective, not all of these are needed or wanted. That means that as the curator, I have to decide which images are universal enough to include and which ones aren't.
For the most part, scan what calls to you. Save things YOU want to see again even if they're bad photos or they don't make a lot of sense. You can always delete them later. Don't feel guilty to add photos that are specific to you or to your mom or whomever. I decided that I wanted the most accurate depiction of the lives of the four immediate people in my family — my mom, my dad, my younger brother, and me. Some of that means knowing the history of their relatives, but that also means I want to include documentation of their lives even when I wasn't around. That also meant I wanted to include documentation of my own life even when they weren't around. It takes a lot of thought to determine which images are important enough to include, but I think of it the way I think of my mother (or a loved one who is very sentimental). What does she want to remember? What would she want to see even if she wasn't there experiencing it? What events are so important that they belong in a museum of our family history?
Even if your brother doesn't care about that time you met a famous author, maybe your mom would. Even if you never met your dad's old dog, he'd want to remember. Even if you didn't watch your brother move in to college, it should be documented. And that may mean that you have more photos of yourself than anyone else. Maybe it means your sibling doesn't have as many photos in the archive because they don't take a lot of pictures. That doesn't mean you should limit your photos because they don't have any. Include as little or as much as you deem fit because you are the one curating this collection.
I personally decided to include a lot.

Equipment
Before I actually started this project, I knew I wanted a new scanner for the job, so after a decent amount of research I settled on the Epson Perfection V600 Photo Scanner. This is a mid-level scanner (priced around $230), but I've found that it packs a lot of punch. It has a lot of options for resolution sizes (generally I used about 800ppi-2000ppi), and even better, it includes a tray that helps you scan film negatives and slides. That option alone gives you a lot of flexibility when it comes to archiving.
Even though it might be easier and more affordable to use the scanner attached to your printer, I highly recommend investing in a real photo scanner. These are family memories, and the hope is that once you scan your photos now, those files can last for a lifetime or more, so the higher quality they are right now, the better. I'll get more into maintaining that quality further on, but a lot of that depends on the scanner and equipment you use to capture the scans and prints.
Other equipment I used for this project are as follows:
2017 Macbook Pro (with Image Capture)
Adobe Lightroom + Photoshop (for editing and color correction)
Negative Film Lab Pro (to process and edit film negatives in Lightroom)
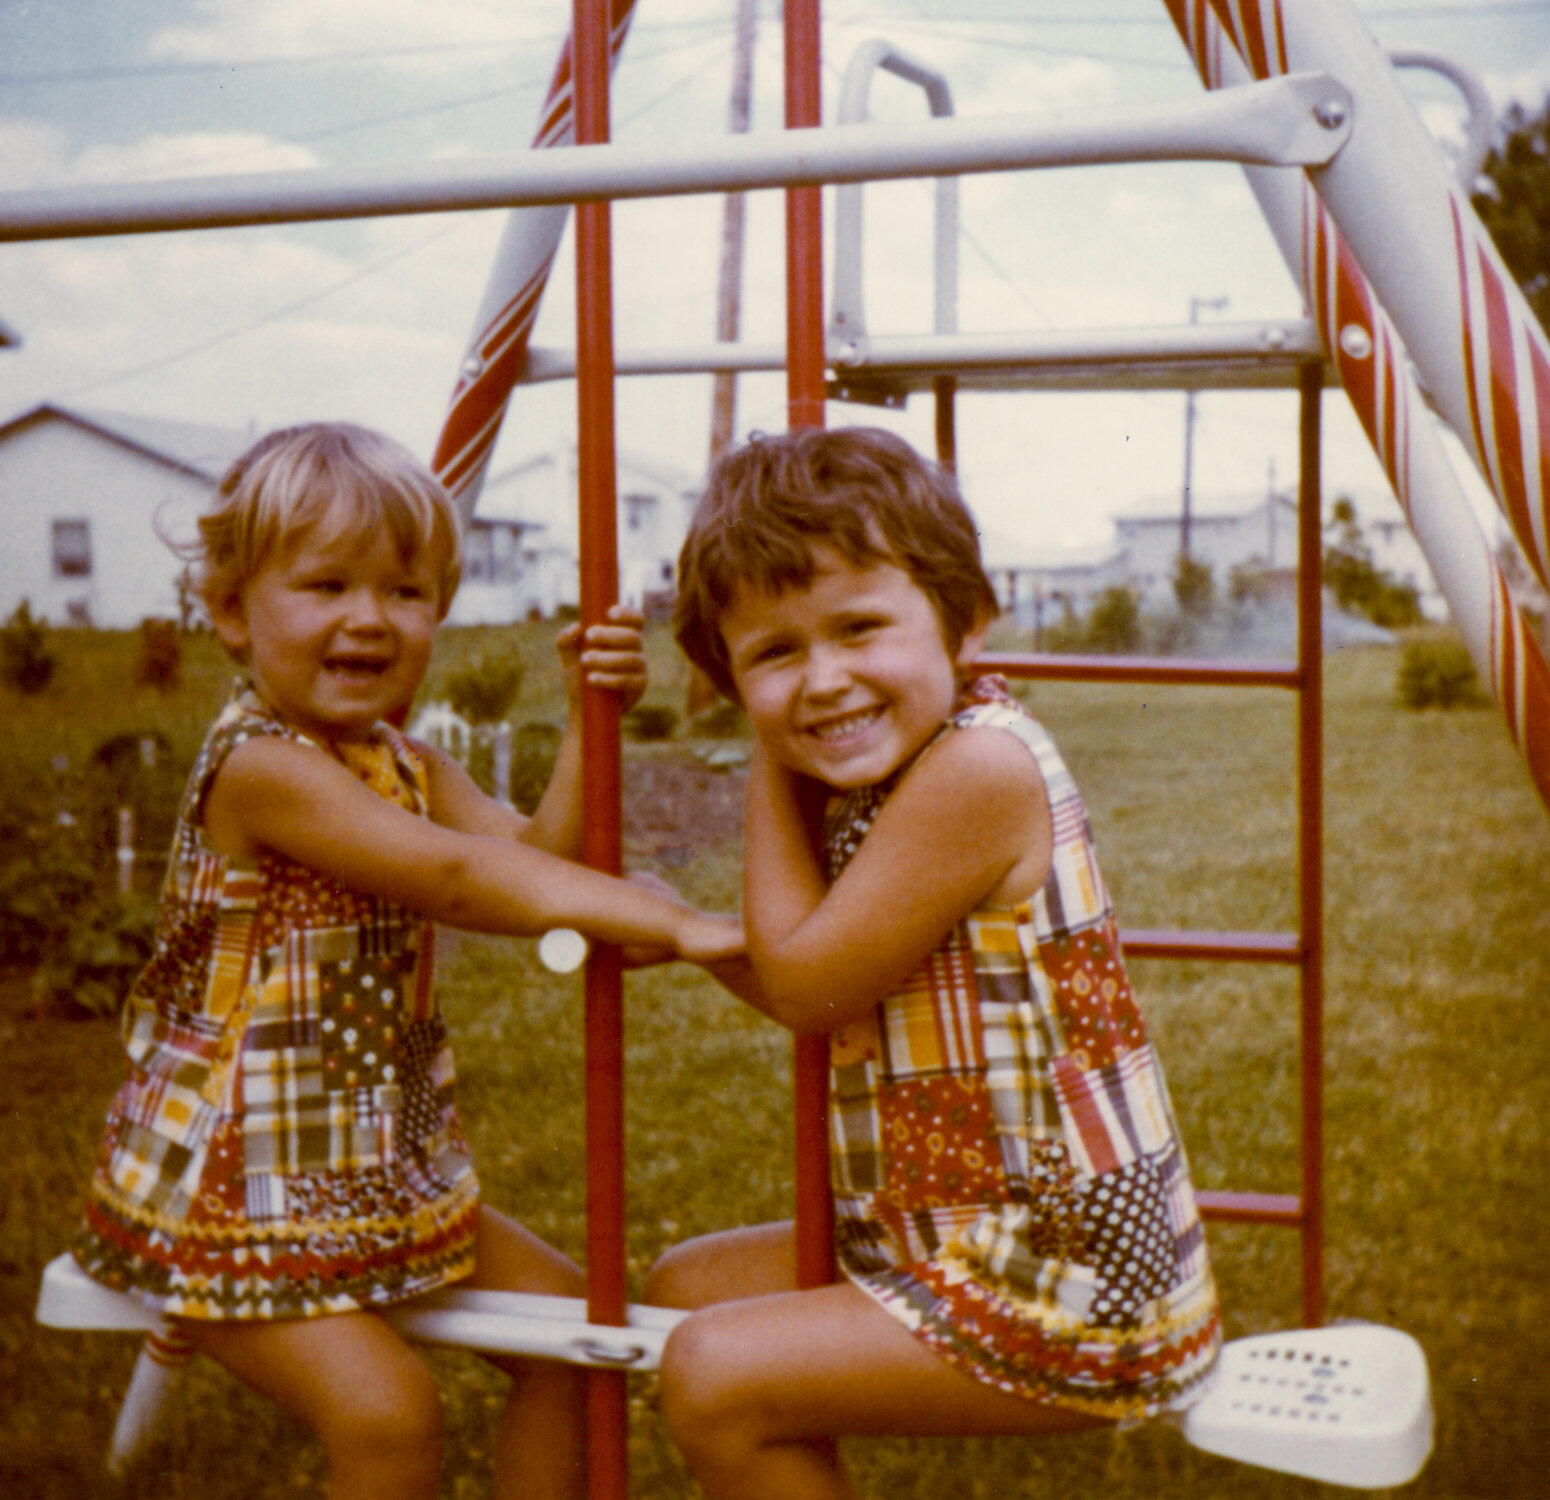
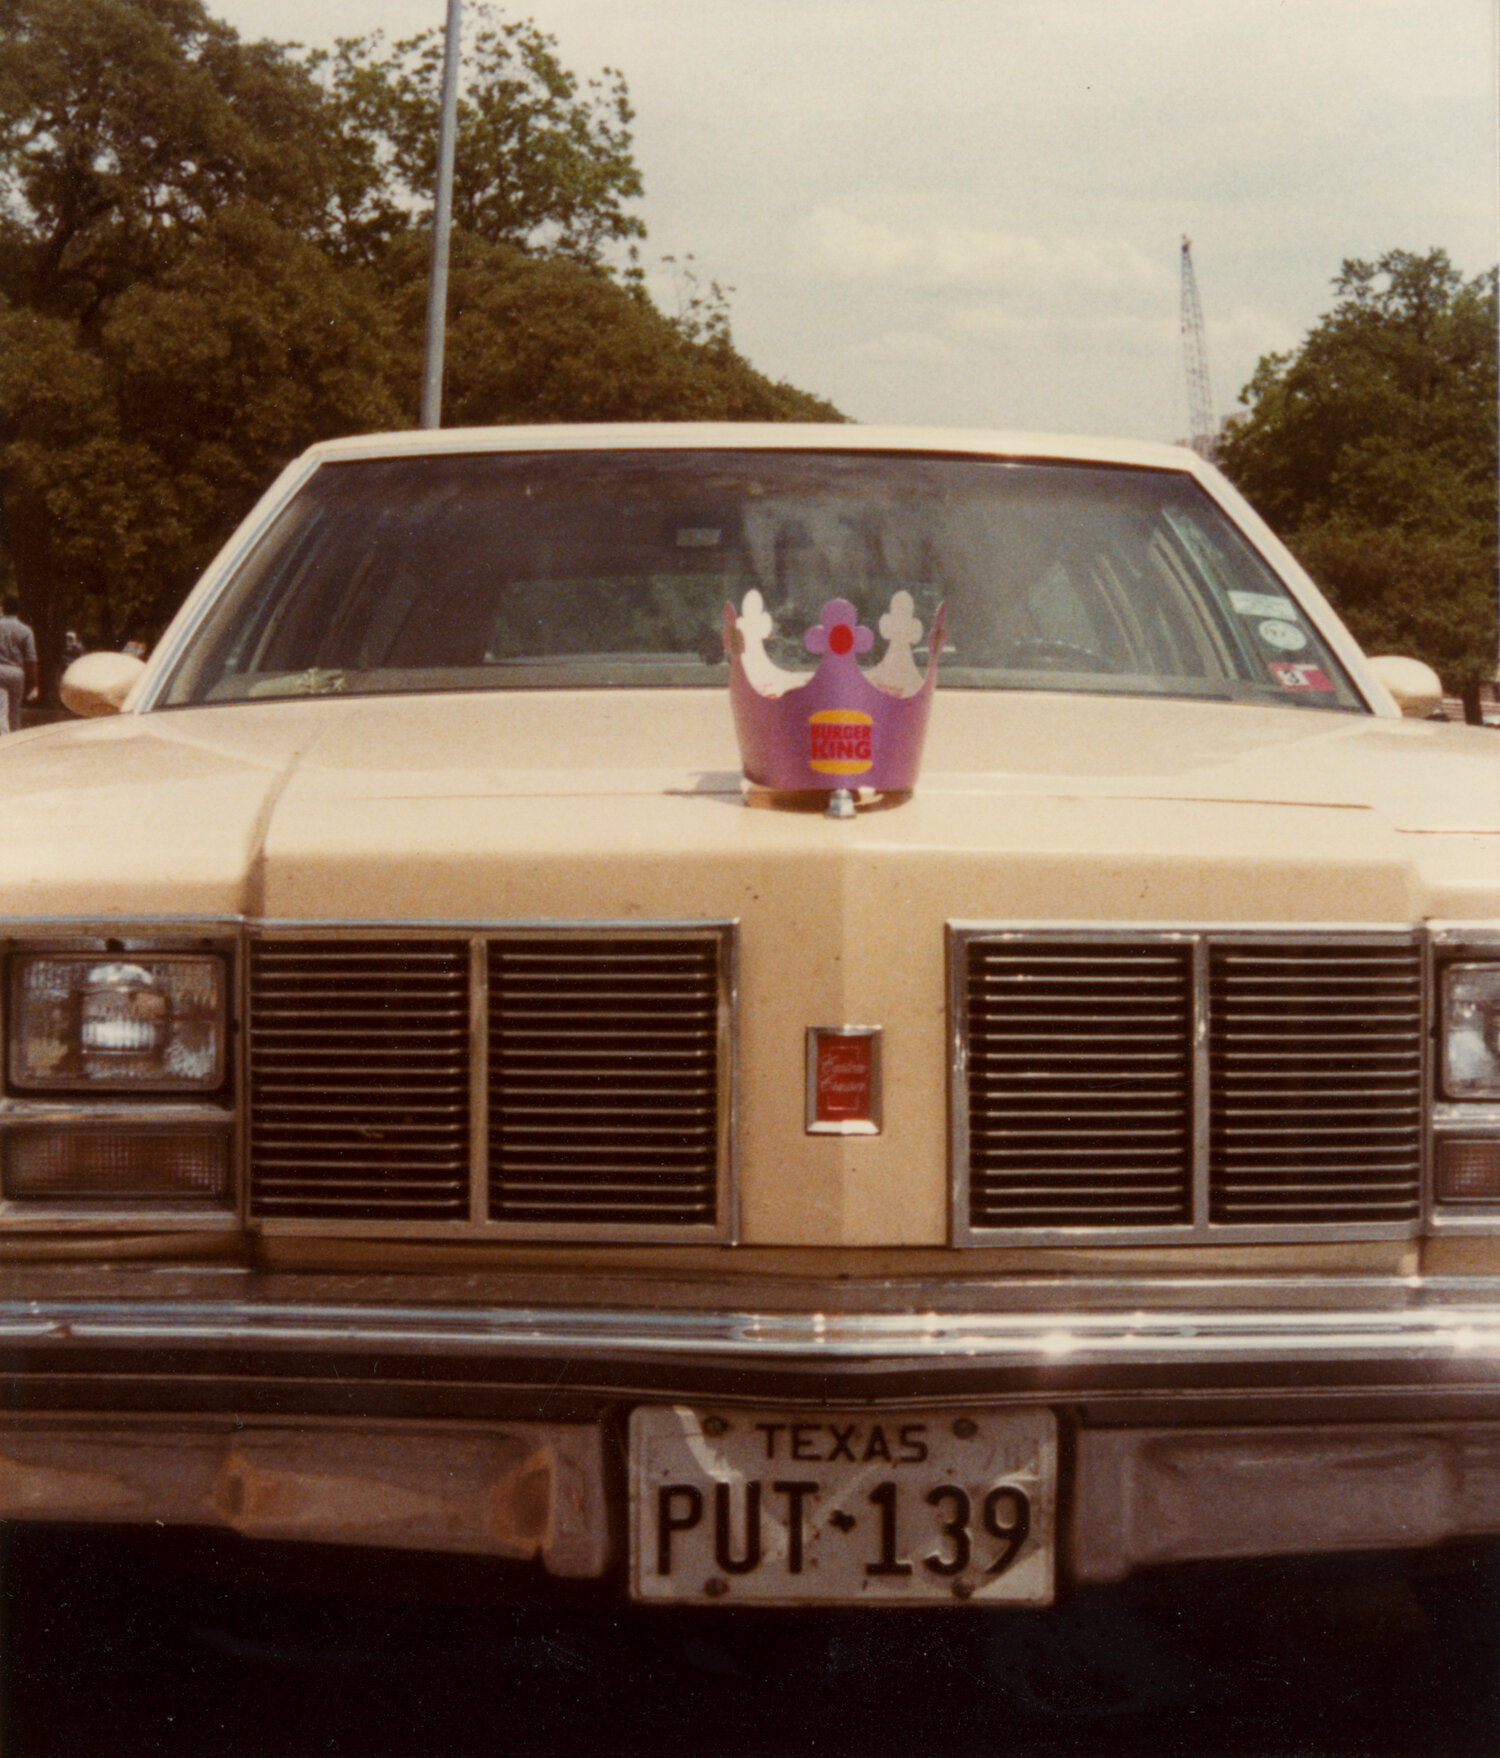
Obviously you can use your own computer, hard drive, etc, and in theory you don't need photo editing software, but as a photographer myself, I will say that it was really helpful to be able to color correct prints and film. Often you'll find that certain prints have faded or turned strange colors over time, so you might want to consider making some visual fixes to refresh those images. This is especially true for color photo prints from the 60s and 70s! But editing software can also help with dust or scratches or any number of other minor fixes you need to make on certain scans and images. And if you are scanning film negatives, having a software specifically for that type of medium can give you even more beautiful colors than just inverting the film in your run-of-the-mill software. I'll show you some examples of what I mean later on!
I also recommend investing in an external hard drive for your archive, especially when you're scanning a lot of images and building the collection before exporting JPGs. Again, this sort of depends on how many photos you have, but as someone who currently has an archive of about 15,000 images, I needed a lot of hard drive storage space to maintain the large file sizes and organize everything properly. It will also give you peace of mind because it should give your computer's internal hard drive a break from keeping track of so many image (and possibly video) files. And again, you can research this on your own for more information, but I've been trusting Seagate to backup my files for years now without any problems. I also have a cloud back-up system with Backblaze that costs less than $10 a month to back up everything in case I lose my drive. (Learned that the hard way!)


The Scanning Process
Arguably the most tedious and time-consuming part of this project was the scanning process. Like I said, it took me from about March to December to scan a majority of my family photos (overall I did about 7,000 image scans), and for most of that time I only did my scanning during weekends. Oddly enough I found it kind of relaxing because it gave me a chance to listen to audiobooks, binge-watch Bob's Burgers (all 11 seasons), and listen to music, but I know that not everyone would enjoy that kind of work.
If you're the type of person who doesn't have the time or patience to scan your photos and can invest in someone else doing that work, you maybe want to look into your options! My best advice is to find someone who can maintain quality - you're looking for high resolutions images with decently large file-sizes as well as no-dust or scratches on the prints and film.
If you are the type of person who'd rather do it yourself, or you want to undertake this process for the fun of it, let me give you some insight to how I do it.
Scan by boxes/collections
In theory, if you have the chance, try organizing your physical photos before you scan anything. Since I didn't want to mess up my mother's filing system, I didn't really organize things by year until I was actually scanning things, and instead I worked through her individual boxes and albums and collections. Thankfully she was fairly organized herself, but there was still room for duplicates and various unknowns.
My advice is to not focus so much on the whole. If you can organize by year or event, that's super helpful (especially for documenting things later), but if you have to just work in order of your Great Aunt Sharon's organization, don't fret. I spent most of my time working through large Creative Memories (remember that?) boxes that were mostly categorized by years. And then I just...went to work. Every time I finished a box, I felt really accomplished.
I'd also recommend finding a way to mark whatever boxes/images you've already scanned. For me, I had big boxes filled with smaller boxes for each year, so anytime I finished a smaller box, I would put a piece of washy tape on the top of it to remember that I'd already scanned it. Then, once I had scanned all the smaller boxes, I'd put a piece of tape on the big one and set that aside. The more photos you have to scan, the easier it is to get confused about what you've done and what you haven't.
Take it one step at a time, one box at a time, one session at a time, and try not to get overwhelmed.
Scan multiple photos at once when possible
Since there are so many different sizes of prints, it can be challenging to make a lot of progress scanning things, especially if you have to select which images to scan on your flatbed like I had to in Image Capture. Generally I'd expect that most of your prints are going to be either 4x6 or 5x7, but there may be some that are closer to 8x10 or wallet size. If you can, use the flatbed edges to guide you so you don't have to reselect every single time, but otherwise I'd recommemd putting as many photos as you can on the scanner at one time.
Generally I try to sort these scans by size and event more than anything else, but whatever is easiest for you. For me the goal was to make my scanning selection in Image Capture as few times as possible so I could speed up the scanning process. This takes a little practice, but I promise after you've done it about a hundred times, you'll get the hang of it and find your rhythm. For me it's best to scan for long periods of time - a whole Saturday rather than an hour after work - but there can be a lot of productivity if you only have an hour to get your scans done.
I think ultimately you'll have to figure out how you work best, how you're organized, and how many images you're trying to archive. It's tedious and daunting, but definitely not impossible.
Title your scans while you scan
My biggest problem with this project has been the file names of my scans. In theory you can just scan everything under the same name, let the sequence run for 7,000 images, and then retitle everything later, but I found that titling each year or event as I went worked best for me. Especially since many of the photos I was scanning already had family history written on or near it to distinguish everything.
Even though this project is about scanning your photos and having access to them digitally, it's important to keep in mind that you might want to document what all these photos mean. I'm still working out how best to write down all this family history, especially since I know almost none of it, but keeping track of the dates on photos and what those photos are from is very helpful. Chances are you might have some scribbles on the back of photos or maybe a box has a label that it's from Christmas 2003. Even if you don't have a lot of information to go off of, I'd recommend trying to put whatever information you do have into that file right when you scan it. That way you don't have to go searching for it later unless you absolutely need to. This means your scanning might take longer because you're taking the time to type up information, but it'll make your job easier going forward because you won't have to retitle 7,000 files hopefully. Plus you can add notes and comments that help describe what's going on! I'll explain more about how I title and add written comments further on, but just keep in mind that you'll want to figure out your naming system before you start scanning so you can stay consistent throughout the process.
Quality is better than speed
As you can tell, quality is the most important part of this process for me. I didn't mind spending nine months scanning prints because I knew I would have high quality images in the end. You can make the decision about just how high quality you want, but please try to be patient throughout the scanning process. It's daunting. It's frustrating. It's exhausting. I get it. But the fruits of your labor will be so worth it! You'll be able to share these images across the internet, with friends and family, you might even be able to put them into the albums they deserve. You don't have to get this project done in a week. Hell, it may even take you a few years. But it's worth it. So don't try to speed up the scanning process by sacrificing quality.
For me I decided that I wanted to keep my resolution as high as possible, which meant giving most of my files a size of 2,000+ pixels and a resolution of 400+ ppi. I felt that that was large enough to give me room to make prints, while not being too ridiculously large that it would crash my computer. For some files I decided to increase this quality, and for some I decreased it. A lot of your quality and resolution should depend on the size of the thing you're scanning. For instance, if you are scanning a small wallet print or a tiny slide, you'll want to beef up your PPI so you can enlarge that image. If you're scanning an 8x10, you don't need as high of a resolution because it's already pretty large on the flatbed. If you're not sure which size to go with, I suggest erring on a larger resolution. You can always compress things later.
Generally I scanned my images as PNG files - they're bigger files than JPGs but not as big as TIFFs, and they maintain a lot more data than JPGs so you can do some edits to them later if you want to fix colors or anything. I will point out that when I was scanning film negatives and I used the Negative Film Lab Pro software, I did scan those negatives (as positive negatives, more information on the NFLP website) as TIFF files. But since most of my scans were positive prints, I just settled on PNGs. My goal in the end is to reexport these PNG scans as color corrected JPGs so they're not quite as big but still a decent sized file. More on that later.
Make sure your prints and negatives are clean
This one is pretty straight-forward but easy to forget. If you’re scanning something, especially film negatives, it’s important to clean those items as much as you can before they’re scanned. This means wiping down prints to get rid of dust, maybe even using compressed air (or blowing on it haha) to remove those imperfections. For me, as a glasses-wearer, I had a few lens cloths lying around and I just made sure to constantly wipe down not only the prints and negatives I was scanning, but also the scanner flatbed. It may seem like more work, but it makes the editing process easier because you won’t have to remove as many dust particles and finger prints.

File Naming
As I said before, there's no right way to do this. My organization may not make sense for you, but I did put a lot of thought into how I wanted to organize my files. Ultimately this came down to how easy it was to sort these files and also how accessible they were to the people searching through those files. I wanted the names to be searchable, that you could easily find an event or a person and also the date the image was taken. In the end I wanted to organize primarily by year.
I found the best way to name a file is the following:
YEARMONTHDATE PRIMARYPERSON EVENT LOCATION(CITY STATE) - NUMBERSEQUENCE - PEOPLEINPHOTO
Example: 20040807 Jenna Young Actors Shakespeare Workshop - Midsummer's Night Dream - VUCA Valpo - 04 - Jenna + Hannah.jpg
YEARMONTHDATE
I found out about this type of date through one of the influencers I follow. She started using this for her own digital organization, and it's the best way to organize if you want to sort things by year. By putting this first you ensure that everything is easy to sort by date.
An example of this would be my birth date: 19950502 aka May 2, 1995.
PRIMARYPERSON
Next I wanted a way to distinguish certain people's events. Ultimately I think the event is the most important part (aside from the date), but some events are specific to certain people and I didn't want to lose that. This isn't apart of every file name, but it's common enough to comment on it.
An example of this along with the event would be things like: Jenna BDay or Candy + Jon Wedding.
EVENT
And as I said, the main point of the image: the event where this photo was taken. Now, it could be an actual event like a party or a holiday, or it could be something as simple as being at home. I don't include events on all my photos. For instance, if I'm just capturing life at home, I'll usually skip the event and primary person sections and move on to the location. But I think a majority of photos can be narrowed down to an event.
An example of this would be: Christmas or Easter Breakfast or College Move-In.
LOCATION (CITY STATE)
Obviously for some things you won't know where certain images were taken. Sometimes you don't need to know that or it doesn't matter. But I found that for regular places - your childhood home, your parents' childhood home, maybe even your elementary school - it can be beneficial to add that information. Maybe you have an exact address or maybe it's just a state or a city that's important, but I like to add that information when I can just so it's easier to search and group things. A lot of the file naming system comes down to what's most important to you, how you want to sort or search for things, and how much information you want to preserve.
An example of this would be: 1900 Belmont Blvd Nashville TN (my university!).
NUMBERSEQUENCE
In order to keep things ordered properly, it's best to put the number sequence before the people in the photos. You'll also want to add zeroes before the real numbers in order to make sure things sort properly. Don't ask me why, this is just what I've discovered!
An example of this would be: LOCATION - 02 - PEOPLE.
If you think you're going to pass 100 photos for a certain event/date, I recommend adding two zeroes (002 or 010) just to be safe! But normally I found that I don't pass 100 for any given date when it comes to scans.
PEOPLEINPHOTO
Like I said, in order to add as much information as possible while also making these files searchable, I decided to add the important people pictured in the photo after the number sequence. Obviously I didn't name everyone in the photo, but my rule of thumb was to name people who were either important to me, important to my immediate family (parents and brother), or who show up in multiple photos. This means people like my grandparents or my cousins or even my childhood best friends. You can add information about more obscure people if you think that would help your archive, but I found that I didn't want to list out more than 5-7 people in an image.
For me I decided to use + between each individual person, but you are welcome to play around with your formatting. It might be helpful to use underscores (Jenna_Jon C_Candy) or some combination if you don't want to use spaces. You'll also want to decide if you want to include last names or not. For the most part I did not use last names unless it was for someone outside of the family or someone with a last name I wanted to remember later. Like an old art teacher or a family friend or even an old distant relative that I didn't know very well. I also had to figure out how best to distinguish between people with the same name - ie my father and brother and grandfather are all named Jon, but they have different middle names.
An example of this would be: LOCATION - 02 - Jenna + Jon C.
Again, all of this is up to you. Add more information, add less, sort by whatever you want to sort by. But the way I went about this project was this: even though I wanted these photos for my personal collection and I figured I'd remember most of this information in the future, I thought about it from a different perspective. What would your mother (or other important family figure who's sentimental) want to remember or read or look at? What would happen if you or someone you loved lost their memory in their old age and didn't remember any of these basic events? What if you were an outsider looking in on someone else's family? Chances are you won't have Alzheimer's or you can always call up your parents and ask for more information or that your archive won't end up in a museum, but it's a good thing to consider. You never know what will stand the test of time or what you might want to have in the future.


You'll also want to keep track of all the extra comments and information you have about each image. You probably won't want to add that inscription from Grandma into the file name, but you'll want to remember what it said. And it's best to document that while you're scanning rather than searching for it again down the line.
Add a comment into the metadata
I'll admit I'm still figuring out metadata, so maybe when I have a real answer I can edit this, but for now I'll tell you what I've done to keep track of these types of comments. I can't speak for PC users, but Mac allows you to add comments in Finder to individual files. Anytime I encounter an inscription (whether that's a date, a journal entry, a quote) on a print or image, I add that direct comment into the comments section on Finder and then give that image file a colored label tag. I do this so that I know which images have comments. My hope is to be able to add that comment back later when I export the image as a JPG file so nothing gets lost.
Ultimately if you don't want to lose that comment, you need to make sure that it's embedded in the metadata of the image. This is like the blueprint for the image that holds all the information about the file - things like when the file was created, where it was captured, etc. Most of your digital files already have the proper metadata, but if you're scanning things, that will have completely new metadata. My point is, make sure you keep those comments with the image or file that they belong to.
When I'm adding comments, normally I'll type up whatever is written exactly as it's written and then I'll add a little note about who wrote the comment (if I know). Sometimes it's obvious because you'll recognize your mother's handwriting, but sometimes you might just say "I think this was from great grandma?" and that's enough.
Take a photo of the inscription or note
If you're like me, you may want to hold onto that comment for safekeeping, or you'll want to keep the inscription because it has someone's handwriting. While you're more than welcome to scan that inscription (and I did do that for some more important ones), it's also perfectly acceptable to take a low-quality phone photo of that inscription for future reference. I did this a lot, especially because my mother has cards for almost every year where she lists important events that happened. This gives me access to the information without going through the hassle of more tedious scans. I added these photos to a separate folder for our WRITTEN HISTORY.


Written History
So if you're scanning things, chances are you probably will have more than just photos to scan. Maybe you have greeting cards or family documents or letters or other odds and ends that you want to have access to in the future. I recommend keeping these files separate from your image files just so you can have easier access when sorting things.
Ultimately my dream was to create an actual typed document with written family history - all the dates and events and journal entries and commentary on the lives of my family - but I also just wanted a separate folder for things like love letters and Navy papers. Those files will be treated differently than my image scans because they don't need to be edited as heavily and they can be lower quality if I wished. They're also a lot of strange sizes and shapes.
Usually as I went about scanning, I'd scan by however my photo boxes were previously organized. I'd find a paper here and there to scan, and instead of putting it in with my image folders, I'd stick it in my WRITTEN HISTORY folder to deal with later. The same ideas about naming and comments still apply. If it had a date, I'd put it in the file name. I'd explain as much as I could about the document, and then I'd let it be. Since there's less written history than visual history (at least for now), I dumped everything in that one folder to deal with later. If it's important to you or your family history, scan it! If it's just something you want to type up later (dates, events, etc.), take a photo on your phone and add those photo files to the folder as you go. You can sort through all of that later to help you better understand the photos and images.

Please note that I still have yet to retitle a lot of these files, but this is generally what my files look like when sorted.
Digital Organization
We've already talked about the written history folder, but what about sorting your images?
For me I found that it was easiest to put all my scans into one big folder at first so I could make sure not to duplicate file names. For most of my time scanning, I'd have an active SCANNING folder and then at the end of each session I could add those images into my bigger ARCHIVE folder. That folder got very large. Images didn't load quickly. Be patient.
After I had done a majority of my scanning and I was confident that I could sort out any duplicate file names, I sorted my images into years. I had over 50 years worth of images! Some of the scans were of images from the 1800s, but a lot were from the 70s and 80s and the mid-90s. Eventually I also added digital photos from recent years, and thus I had a LOT of years to cover. I found that sorting them into years made it easier for me to edit these photos in Lightroom, so that's how I initially sorted things. Within those folders I did not make any distinctions because my file names did a pretty good job of sorting based on dates.
I'm still in the middle of this project so I'm sure my organization will change, but I think in theory the hope is to have folders within these year folders that are categorized by events and locations and people. There are so many ways to sort these files, so I think it comes down to what you want to access and how accessible you want them to be.
Digital Image Files
Depending on your process and how your brain works, you may end up dealing with your digital image files before or after your scanning process. For me I found that I wanted to establish my digital files before I got through scanning because I had access to all my digital photos and most of them were already organized. I've been saving my own files for years, so mostly this was about gathering those files from my hard drive or the places I saved them online.
Download photos from your phone
If you're like most humans in the 21st century, you probably have photos you've taken on your phone. And you probably have a lot of them. And they've probably been on your phone for years without ever seeing the light of a computer. While phones are great for storage because most have cloud storage, it's important to back-up your photos on a computer to keep them safe. This also forces you to sort through your duplicates and delete unnecessary junk. I know it's annoying, but it's a good thing to do.
If you've never done that with your phone, I highly recommend doing that now. If you have done that with your phone, you're already ahead of the game! If you can delete duplicates or curate which photos belong in your archive, try to do that now. Not everything on your phone belongs in a family archive probably, so choose wisely.
Download photos from online spaces
You probably have uploaded a number of photos online that your computer has lost over the years. Maybe they're in places like Google Photos or Facebook or Shutterfly. Wherever you have saved photos, go find them. Download them even if they're not as high of quality as you remember. You may end up finding higher resolution files of these images later on as you sort through your computer files, but this gives you a fighting chance to save those photos so that they aren't lost in the long run. If possible, download them in HQ!
Ask your family to send you their digital photos
This one may or may not yield results, but take the time to ask other family members if they have photos of you or them on their phones or computers. When I asked my brother he didn't really understand the point of an archive, so I only got a few dozen photos from him. Make sure these family members know you are asking for photos of THEM not just YOU. You might even want to reiterate that these photos don't have to be of them or of people, it can be documentation of their life thus far. You may find that certain family members you don't expect are hoarding lots of digital photos that you didn't even know existed. Again, this all comes down to what you specifically want to document and include in your archive. You are a curator, so curate!
Retitle your image files as you did with your scans
Once you've gathered your images and sorted them into years and/or events, then you can set about retitling the files. If you can't tell when a photo was taken, there's a good possibility that the metadata is embedded in the photo so it might tell you the exact date. I tried to use the same method of titling as I did with my scans so that way your images can seamlessly merge later on.

Editing Scans
After I scanned and retitled and gathered all my photo files, I set about the less-daunting task of turning those massive PNG scans into more manageable, color-corrected JPG files. This is a fancy way of saying that I edited the files and exported them for easier accessibility.
If you haven't used Lightroom or edited photos before, you may want to look up some tutorials online. While it isn't entirely necessary - in theory you could just keep the files as they are, they don't have to be color corrected - it can really improve the quality of the photos. Mostly when I did my edits, I didn't change much. I'd increase the contrast, bring down the blacks so everything is less faded, and then I'd do minor spot corrections to fix dust spots or scratches. Usually I'd add my pre-made preset to the files directly on import into Lightroom and then did minor fixes as I went through each individual image. I made sure to sort these files by FILE NAME rather than CAPTURE DATE because then everything would be in the proper date order.
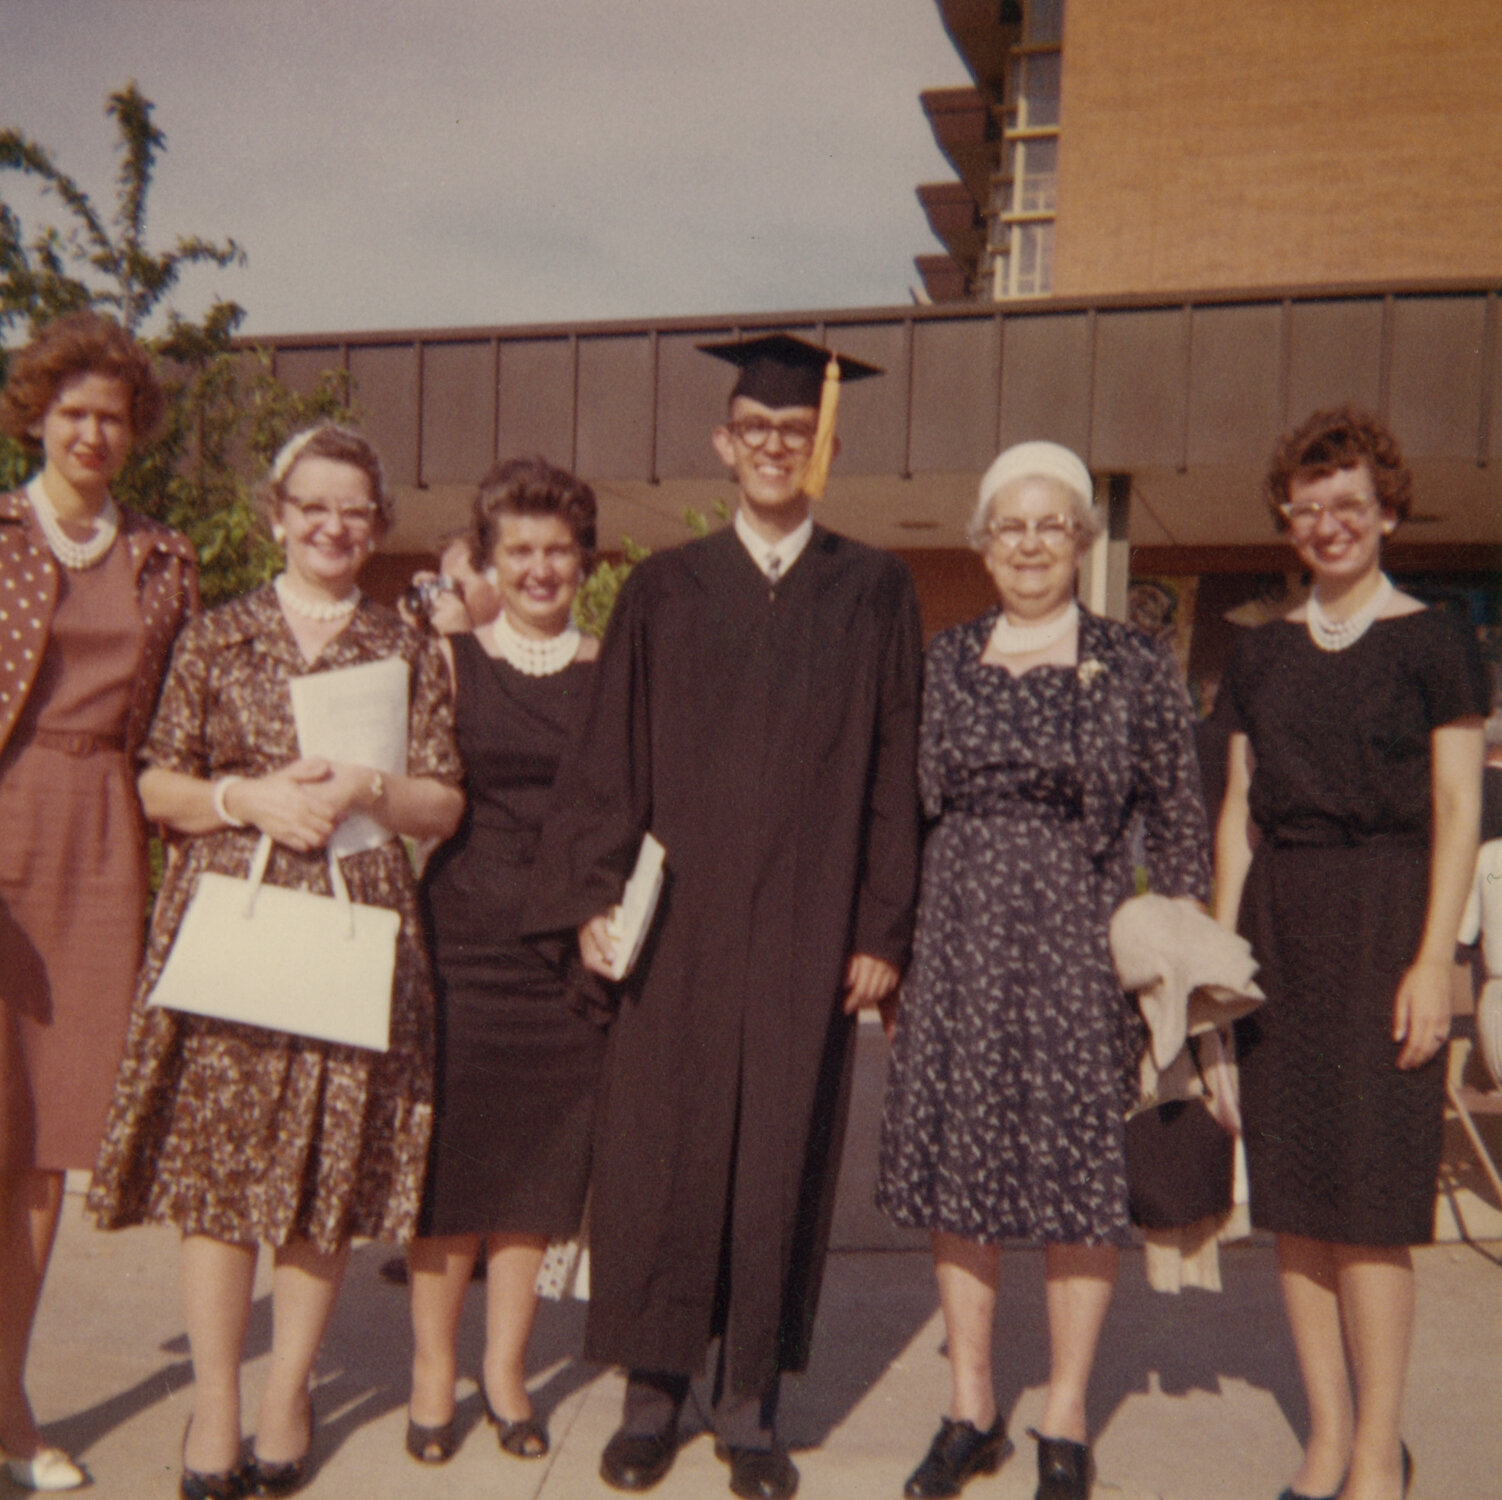
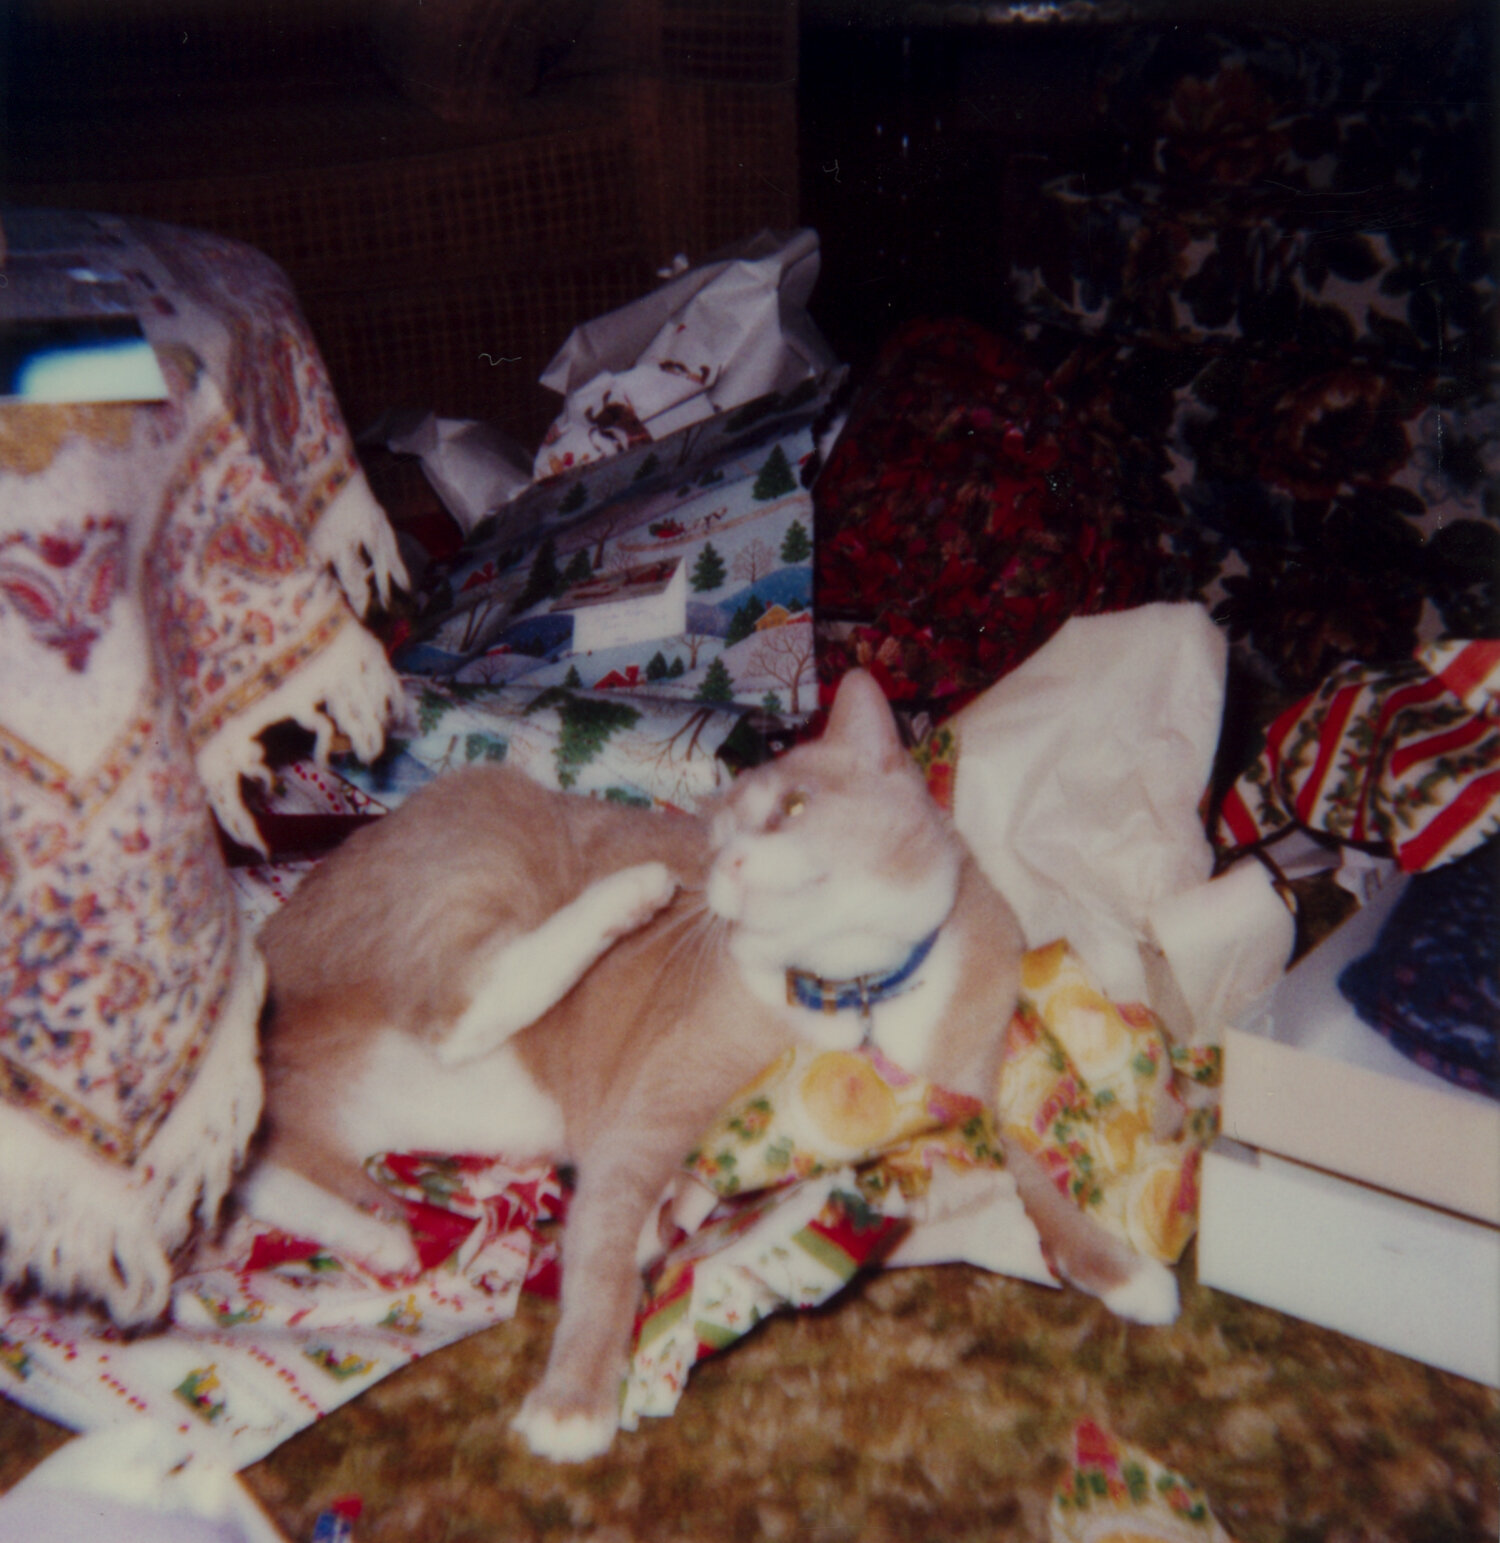
Usually I noticed that the older photos needed more work. If it was from the 70s, it would be more faded and a little discolored. If it was from the 80s, I might need to work on cropping a Polaroid or two. I also got a large folder of old slide scans from my aunt (Like 1,400 files) that were badly scanned by someone else which meant I needed to do a lot of spot correction on dust and particles. For the most part editing only took a lot of time because I went through all 14,000 images to make sure that every file looked good and every file belonged. Some files needed more work than others, but it took much less time than scanning (only a few weeks). I also used Lightroom to better organize files that might be out of place based on my file naming.
Then, once everything was properly edited, I exported everything as a large JPG file (careful not to rename anything on the export so I kept all my original file names) and voila! An archive has been created!

Film Negative edited with Negative Lab Pro

Film Positive with no editing
Film Negative edited in Photoshop using Invert
Distribution
Even though I did most of my file naming beforehand, I needed to go through most of my files to make sure everything was properly catalogued. I had to make sure there weren't duplicates - because I did notice there were some duplicate images in there - and sort everything into its proper folder based on the year and then event. But that's something I'll be working on for a long time, I think.
My dream for this archive was to be able to distribute it to my family so they could enjoy my hard work while also having access to their photos. I wanted to give my parents a digital photo frame so that they could see many of these images on a regular basis while working at home. On Christmas we sat down together and put the photos on our TV and I got to hear my mom talk about her life growing up. It was worth all the hours of work I put in just to hear her get excited about seeing her parents again.
Obviously 15,000 files is...a lot. And many of those are not super important images that need to be seen every day. While it would be amazing to put all of those into albums or see them on my home computer screen...that's also kind of impossible. So I went through those and picked about 1,500 to give to my parents for their photo frame. (We went with a Google Nest Hub Max and it's great because all you have to do is upload the files to Google Photos and they show up automatically!)
However, I still want people to have access to those photos. There's so many ways to do this - Cloud storage, hard drives, etc. so I think ultimately it will come down to cost or personal preference. But I do recommend saving them in multiple places. My hope is to send each of my immediate family members a large flash drive with all the exported photos. I'd also like to upload them online somewhere so I can share them with extended family members and my own personal friends. There are places like SmugMug or Shutterfly or PixieSet that work with photo-sharing, but Google Drive and Google Photos work pretty well too. Again, cost or personal preference.
I will be holding on to the original scans for as long as I can just because I'm a digital hoarder, but if I can have the exported JPGs scattered across the country and the internet, we have a better chance of these photos standing the test of time.

Reflection
This has been massive undertaking, and I still can't believe I actually did it. It's something that's ongoing, that I'll probably be working on for my whole life, but I've been meaning to work on these scans for about two years now, and I'm so glad that work is done!
It was such an unexpected joy because I really do think I was meant to do it while this pandemic was happening. Even though I was alone for most of the year, I didn't feel so alone because I was watching my parents fall in love or watching my brother grow up or watching my grandparents become their own people. I learned so much about my family history and it really made me grateful for the people in my life. It's easy to get caught up in the present and the fear in my own life, but getting to transport myself to my mom's life in Tehran in the 70s or my dad's childhood home in the late 60s was really an incredible blessing.
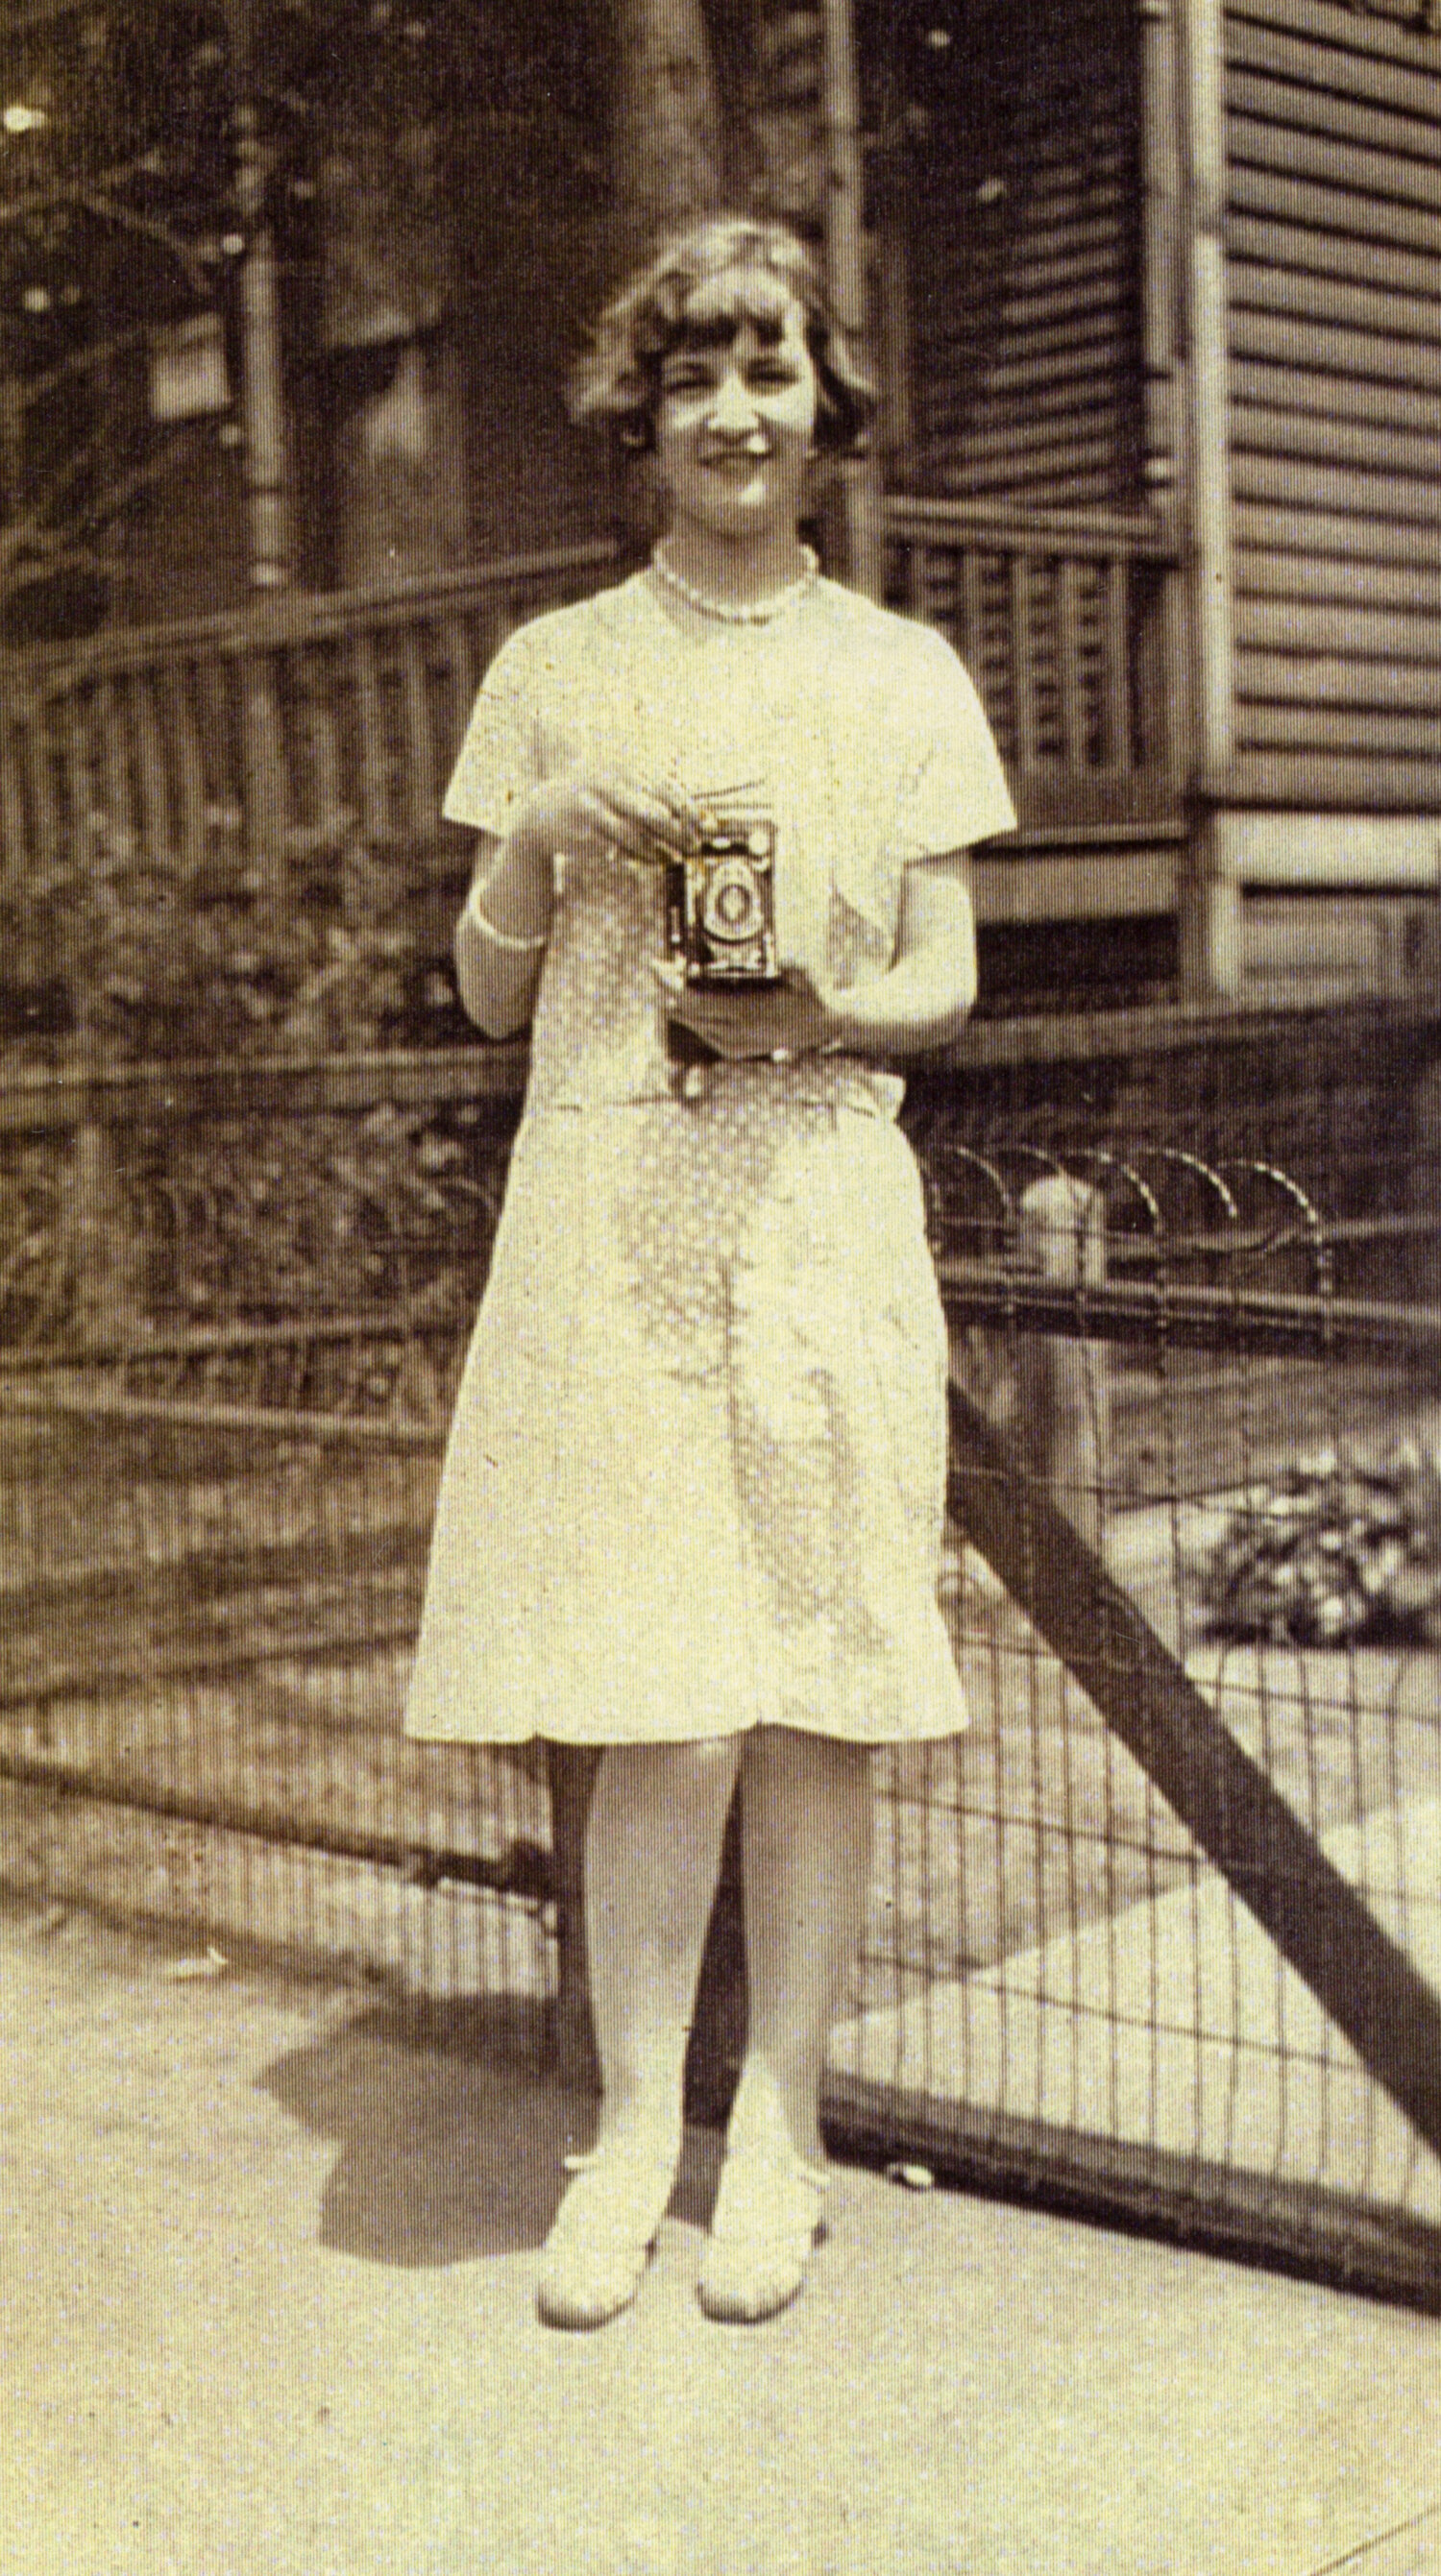
I also learned a lot about myself and where I came from. I've been a photographer for almost my whole life and it's always been such an isolating thing, but I found out that I'm descended from photographers! Not only did my mom take a bunch of photos when I was growing up, but my grandfather and his mother were both avid photographers as well. And while I wish I could ask them questions and talk to them about it, I'm also blessed that I get to witness their lives through their cameras. Actually, over the summer when I was in the thick of my scanning, I was so inspired by my family's film photos that I decided it was time to get back into film photography. I bought a second-hand polaroid camera, I started taking film photos on an old Olympus I bought a few years ago, and now I'm really investing in color film. Photography feels new again, like I felt back in 2002 when I was learning how to scrapbook my photos with Creative Memories.
Photos have always been so important to me, and it's really amazing to know they were important to my family too. I think photography can be such an incredible testament to life and so many people don't utilize it as much as they should. I've always said that if there was a fire and I had to grab something I'd grab my hard drives because my entire life is stored within those files.
It's never too late to invest in photography and memories.